How to Clean Hair Brushes at Home: A Quick and Easy Guide
Most of us have wondered at least once: how do I clean my hairbrush, and can it be done at home? Hairbrushes are everyday essentials, but they often get overlooked in our cleaning routines. Over time, they gather hair, oil, product residue, lint, and bacteria, all of which reduce their effectiveness and transfer grime right back to your scalp. The good news is that giving your brush a proper clean is simple, takes household items you already own, and only needs a few minutes a week.
How to Clean Hair Brushes at Home
Maintaining clean hair tools is about more than looks; it keeps your scalp healthy and your hair shiny. A dirty brush spreads oil and product buildup back onto freshly washed hair, making your grooming less effective. The five-step routine below works for plastic, vented, and cushioned brushes, with notes for wooden and boar-bristle brushes that need a gentler touch.
This guide builds on our wider personalized hair brushes and combs collection, so if you sell salon supplies or hand out branded grooming gifts, the same care tips apply to your customers' tools too.
Why Cleaning Your Hair Brushes Matters
A clean hairbrush goes beyond aesthetics; it is a key factor in maintaining hair and scalp health. Over time, brushes collect oils, styling products, and debris, creating an environment for bacteria and dirt. The American Academy of Dermatology Association recommends regularly cleaning hair tools to keep your scalp healthy and reduce the spread of buildup. Here are the benefits of regular cleaning:
- Healthier Scalp: A clean brush minimizes the transfer of grime to your scalp, helping prevent irritation and blocked follicles.
- Reduced Hair Damage: Buildup on brushes can snag and weaken hair strands. Cleaning removes residue, reducing unnecessary breakage.
- Enhanced Styling: A clean brush distributes natural oils more effectively, leaving your hair shinier and smoother.
- Prolonged Tool Life: Regular cleaning keeps your brushes in great condition, saving you money on replacements.
Step-by-Step Instructions
Cleaning your hairbrush might seem like a small task, but doing it right makes a big difference. Follow these five straightforward steps and your brush will stay fresh, effective, and gentle on your hair. These steps can be done at home with everyday supplies; just take the usual precautions to protect yourself and your surfaces.
Step 1: Clear Out the Hair
What You'll Need: Scissors, a tail comb, or a small tool like a pen. Time Required: 2-5 minutes
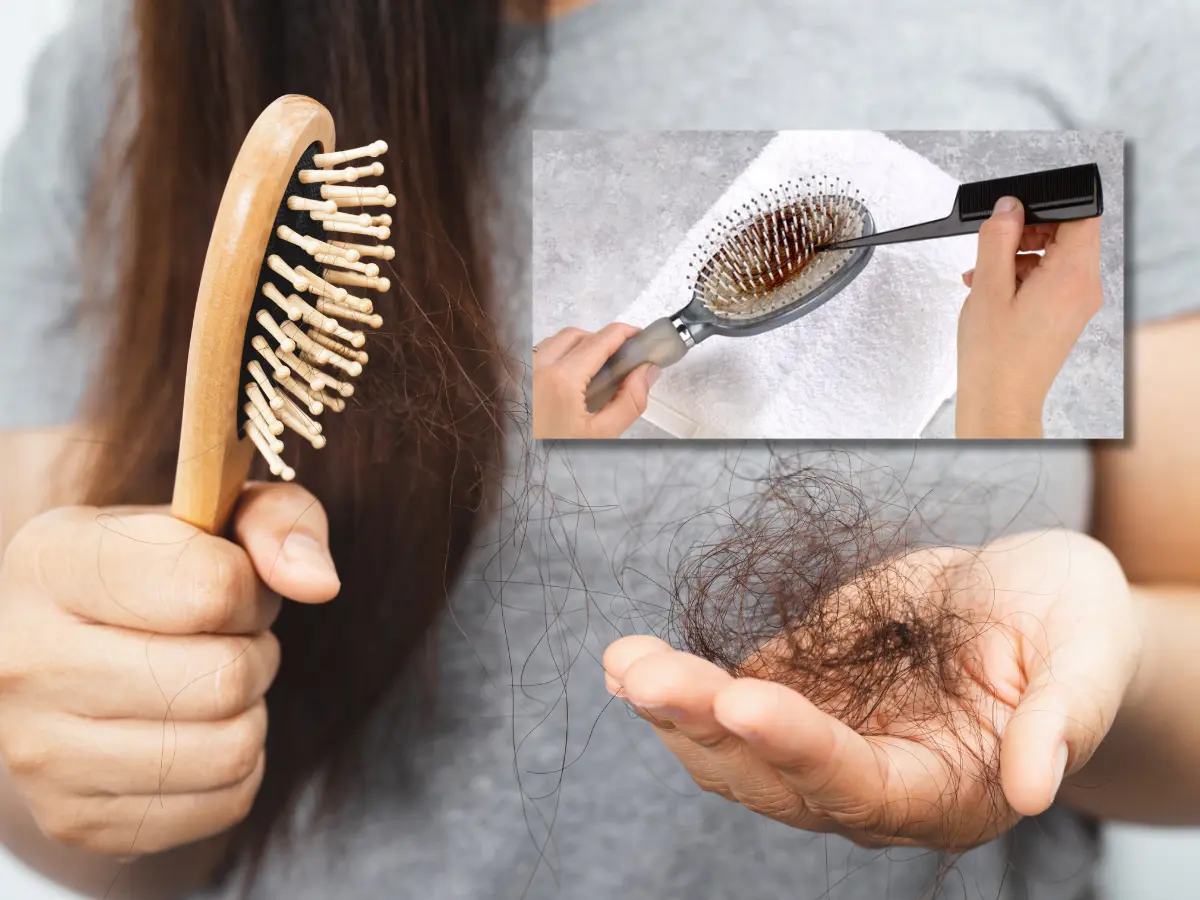
Start by removing any trapped strands. Use a tail comb or a slim object to lift the hair away from the bristles. If knots are tough to loosen, carefully cut them with scissors in small sections. Tweezers can also help with hard-to-reach spots. Gently twist the bristles as you lift to make the process smoother, and handle the brush carefully to avoid bending or damaging the bristles.
Step 2: Wash with Warm Soapy Water
What You'll Need: A bowl, warm water, and mild soap or shampoo. Time Required: 5-7 minutes
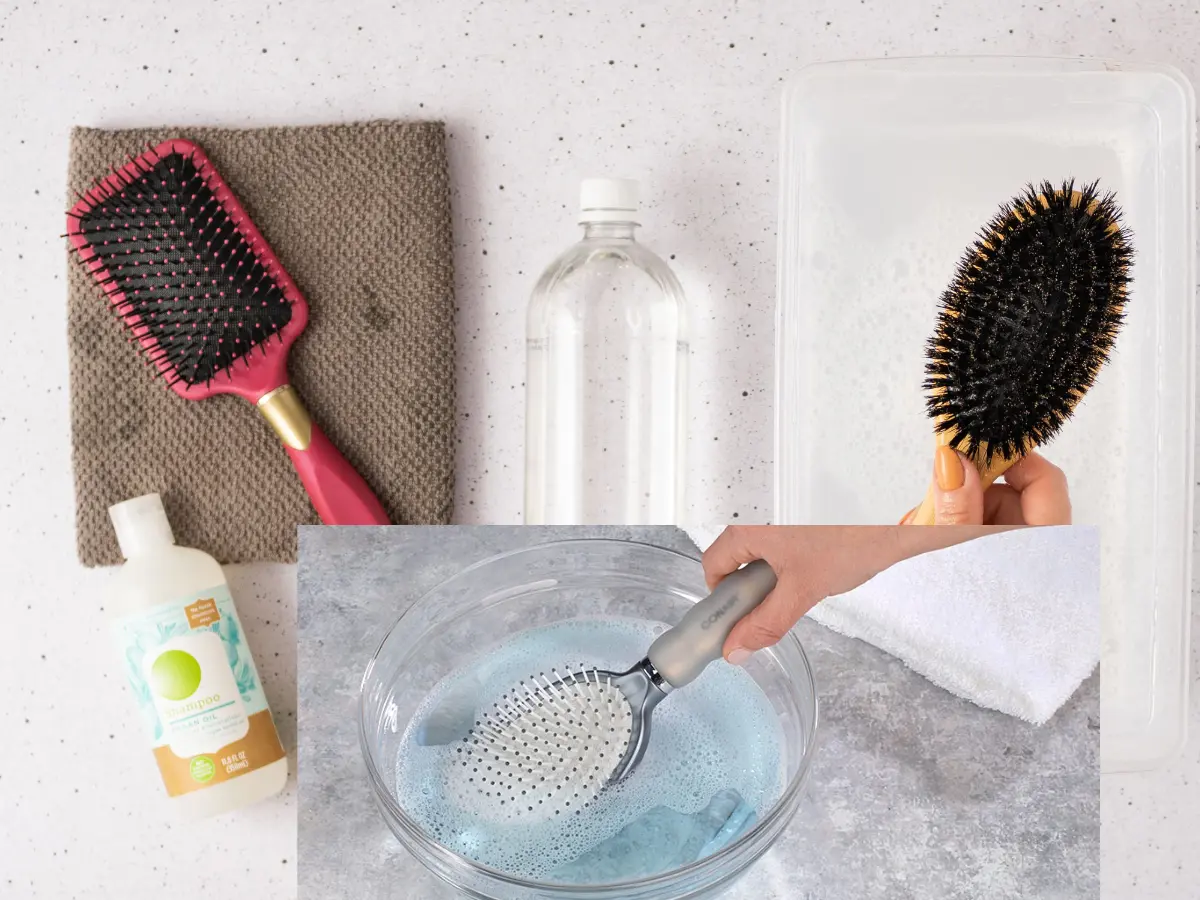
Fill a bowl with warm water and add a few drops of soap. Swirl the brush in the water to loosen grime, focusing on the bristles. For cushioned brushes, avoid soaking the base; dip just the bristles. Use an old toothbrush to scrub gently and remove buildup. Wooden brushes should only be wiped with a damp cloth to prevent the finish from swelling or cracking.
Step 3: Remove Stubborn Residue
What You'll Need: Baking soda paste (baking soda + water) and a toothbrush. Time Required: 3-5 minutes
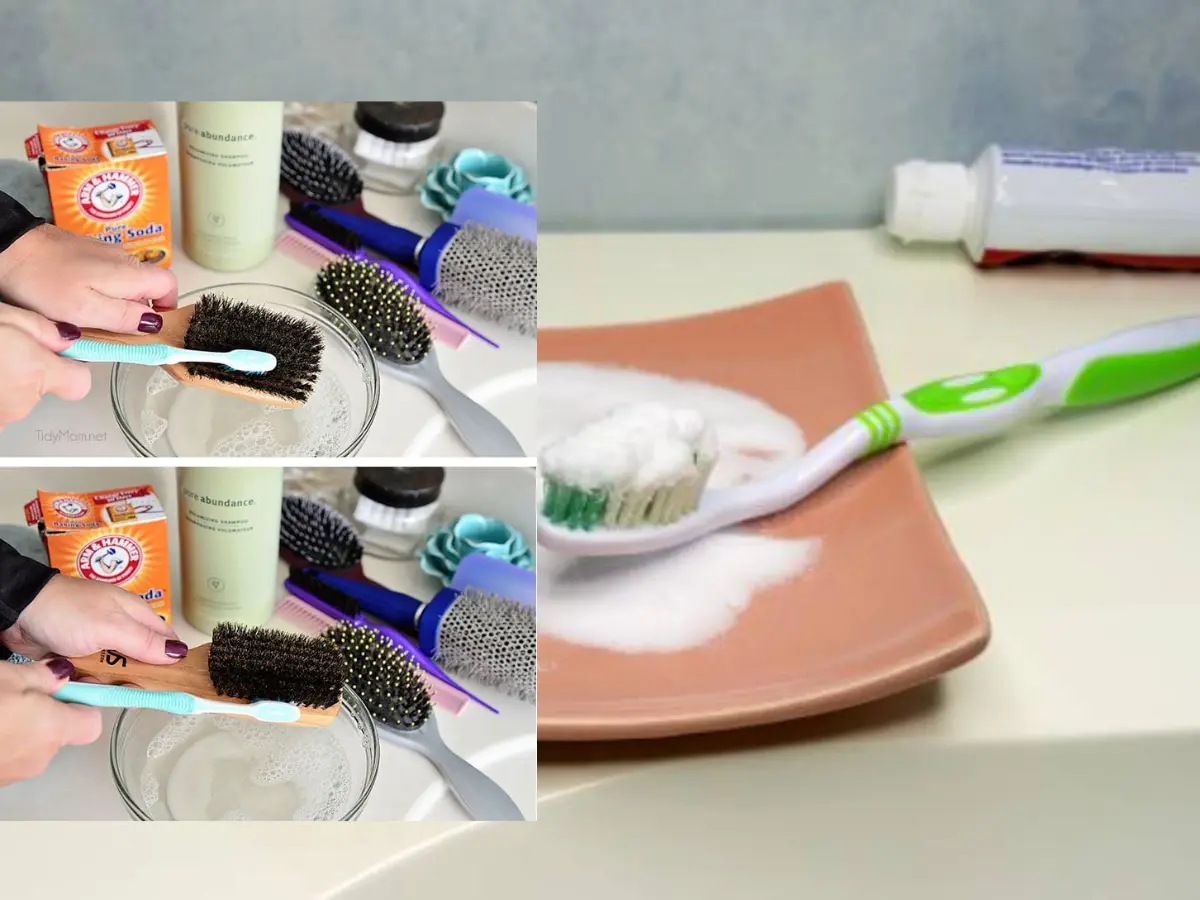
If product buildup remains, mix baking soda with water to create a paste. Apply it to the bristles and scrub gently with a toothbrush. This step works especially well for plastic and vented brushes. Rinse thoroughly afterward to remove any baking soda residue. (See the baking soda and sticky-residue sections below for more detail on these popular methods.)
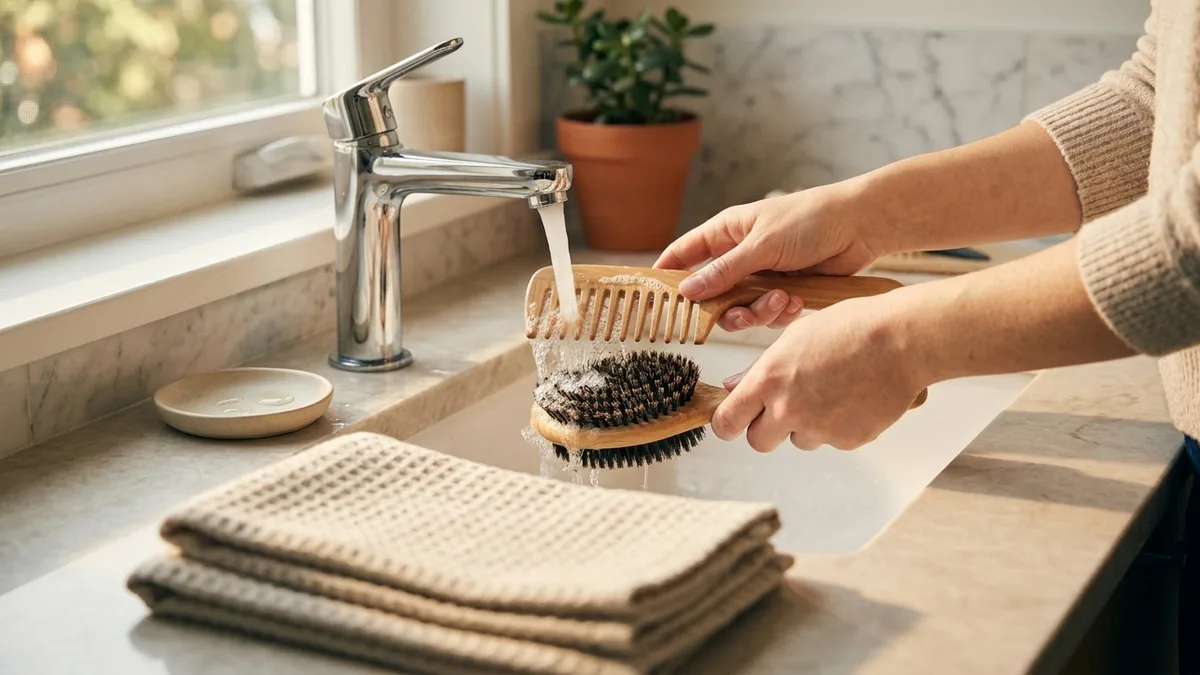
Step 4: Rinse and Dry
What You'll Need: Clean water and a towel. Time Required: 2-3 minutes
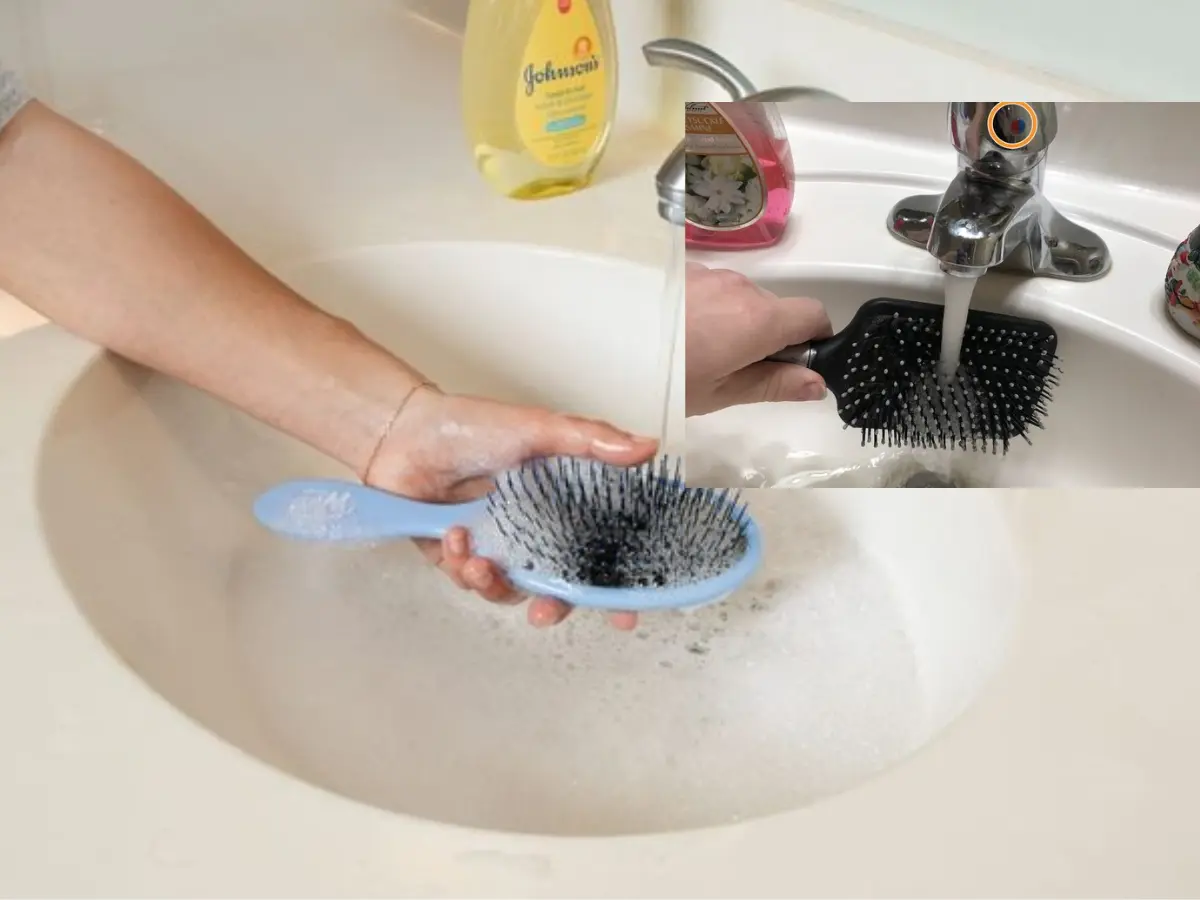
Rinse the brush under running water, focusing on removing all soap or paste. Hold it bristle-side down so water does not collect at the base. Shake off the excess and gently pat the brush dry with a towel. A microfiber towel speeds up drying and prevents water pooling around the pad.
Step 5: Let It Air Dry
What You'll Need: A clean towel. Time Required: 1-2 hours
Place the brush bristle-side down on a towel and allow it to air dry completely. Avoid using a hairdryer, as heat can weaken adhesives or warp plastic. Drying near a fan or in a breezy spot can speed things up.
How to Clean a Hairbrush with Baking Soda
Baking soda is a mild abrasive and natural deodorizer, which makes it ideal for lifting stubborn hairspray, mousse, and dry shampoo residue without harsh chemicals. For an even deeper clean, soak plastic and vented brushes in a bowl of warm water with a tablespoon of baking soda for ten minutes before scrubbing. Skip soaking for wooden brushes and cushioned bases; spot-clean those bristles only. Always rinse completely so no powdery film is left behind.
How to Disinfect and Sanitize Hair Brushes at Home
Disinfecting matters most for shared brushes, brushes used on wet hair, and tools used in salons or households with more than one person. White vinegar is a natural disinfectant that also helps dissolve buildup, while 70% isopropyl alcohol is the concentration the CDC notes is effective for surface sanitizing. After sanitizing, let the brush dry fully, since trapped moisture at the base is what encourages bacteria and mildew in the first place.
How to Get Lint, Dust, and Fuzz Out of a Brush
To remove lint, dust, and fuzz, run a fine-tooth comb through the bristles in one direction to lift the fuzz to the surface, then pinch and pull it away. Boar-bristle brushes trap fine dust easily because the natural bristles cling to it, so comb them out before every wash and store the brush covered or in a pouch to keep airborne lint from settling. A quick weekly comb-through prevents lint from compacting into the base where it is hard to remove.
Shop Custom Hair Care & Grooming Products
View all →


Caring for Boar Bristle Brushes
Boar-bristle brushes need a gentler routine than plastic ones. Remove hair and dust with a comb first, then dip only the bristle tips in lukewarm, lightly soapy water; never submerge the wooden base or the bristle pad. Swish briefly, rinse the tips, and lay the brush bristle-side down to air-dry so water drains away from the base. Avoid hot water, harsh detergents, and soaking, all of which dry out and loosen natural bristles.
How to Remove Sticky Residue from a Hair Brush Safely
For sticky residue from hairspray, gel, or dry shampoo, soak plastic brushes in warm water with a few drops of dish soap for ten minutes to soften the buildup, then scrub with a baking soda paste and an old toothbrush. For wooden or boar-bristle brushes, skip soaking and instead wipe the residue away with a cloth dampened in a diluted vinegar solution. Work in small sections and rinse the bristle tips so no cleaner is left behind.
How Often Should You Clean Your Hair Brushes?
If you use styling products like hairspray or mousse regularly, clean your brushes weekly to prevent residue accumulation. If you only brush clean, dry hair daily, every two weeks is usually enough. For shared brushes or those used on wet hair, clean them after each use to minimize bacteria and dirt transfer. A consistent routine keeps your brushes effective and your hair healthy.
Additional Care Tips for Your Hair Brushes
Beyond regular cleaning, a few small habits keep your brushes in top shape and extend their lifespan:
- Stick to a Routine: Clean your brushes weekly to prevent buildup; a quick wipe with a damp cloth after each use also helps reduce grime.
- Keep Brushes Separate: Use different brushes for styling, detangling, and applying products to reduce wear and keep each working efficiently.
- Protect During Travel: Pack brushes in a case or pouch when traveling to avoid bent bristles and dirt transfer.
- Store Smartly: Always store brushes in a clean, dry place away from humidity, ideally bristle-side up in a holder.
- Replace When Necessary: Swap out brushes with bent bristles, loose handles, or excessive wear every 6-12 months for optimal performance.
- Skip the Heat: Avoid blow dryers and heaters; heat can weaken the glue holding bristles or warp plastic parts.
Signs It's Time to Replace Your Hair Brush
Even with proper care, brushes don't last forever. Here's how to know when it's time to say goodbye:
- Bent or Missing Bristles: Damaged bristles tug on your hair and cause breakage.
- Loose Handle or Base: An unstable handle or bristle pad affects the brush's effectiveness.
- Fraying Natural Bristles: Worn-out natural bristles lose their ability to distribute oils evenly.
- Excessive Product Build-Up: When residue won't come off, it's time for a new brush.
Replacing your brush at least once a year is a good rule of thumb, but heavily used brushes might need replacing sooner.
Choosing the Right Hair Brush
The right hairbrush makes a big difference in your hair's health and style. Here's how to pick one:
- Fine Hair: Use a soft-bristle brush to prevent breakage and add shine.
- Thick or Curly Hair: Try a paddle brush or wide-tooth comb to detangle without pulling.
- Frizzy Hair: A boar-bristle brush smooths strands and reduces frizz.
For styling, round brushes add volume and paddle brushes are great for everyday use. Boar bristles are ideal for spreading natural oils, while synthetic ones handle heat better. Finally, choose a brush that's easy to clean; detachable parts or simple designs save you time.
If you are sourcing branded grooming tools to give away, our guide to combs with logo for business branding and our logo imprint size guide for custom combs walk through picking the right style and print area. A few favorites worth a look are the Branded Grooming Travel Kit, the 5 Piece Manicure Set, and the 3-in-1 Cosmetic Pouch with mirror for a polished grab-and-go set.
If you enjoyed this clean-it-at-home routine, our how to wash a backpack at home guide, how to clean nylon totes and backpacks, and how to wash a weighted blanket cover the same gentle, household-supply approach for your other everyday essentials.
Need branded grooming and beauty gifts for your next campaign?
Conclusion
Cleaning your hairbrushes and combs isn't just about hygiene; it's essential for keeping your hair healthy, shiny, and manageable. By following the simple steps in this guide, removing hair, washing with soapy water, lifting residue with baking soda, disinfecting with vinegar, and drying properly, you'll keep your tools effective and extend their lifespan.
Looking for high-quality combs, brushes, and related products to upgrade your hair care game? At Promotional Product Inc., we offer a wide range of customizable personal care and beauty essentials, perfect for personal use, salons, or branded giveaways. Explore our collection today to find the perfect tools for your needs.
Shop Related Categories
Related Articles
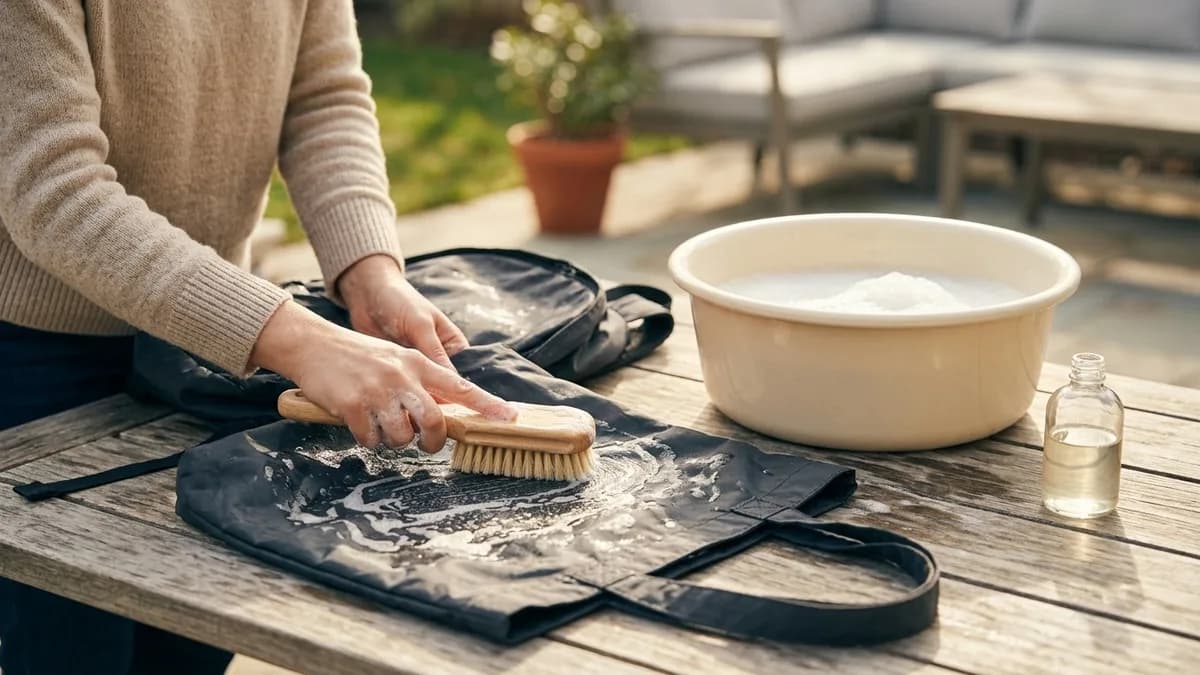
How to Clean Nylon Totes & Backpacks: Expert Maintenance Tips
If you are searching for how to clean a nylon tote bag or how to wash a nylon backpack, you are in the right place.

How to Learn How to Draw in 4 Easy Steps: A Beginner’s Guide
In this blog post, you’ll learn how to draw using a clear, beginner-friendly method that breaks the entire process into four simple steps.
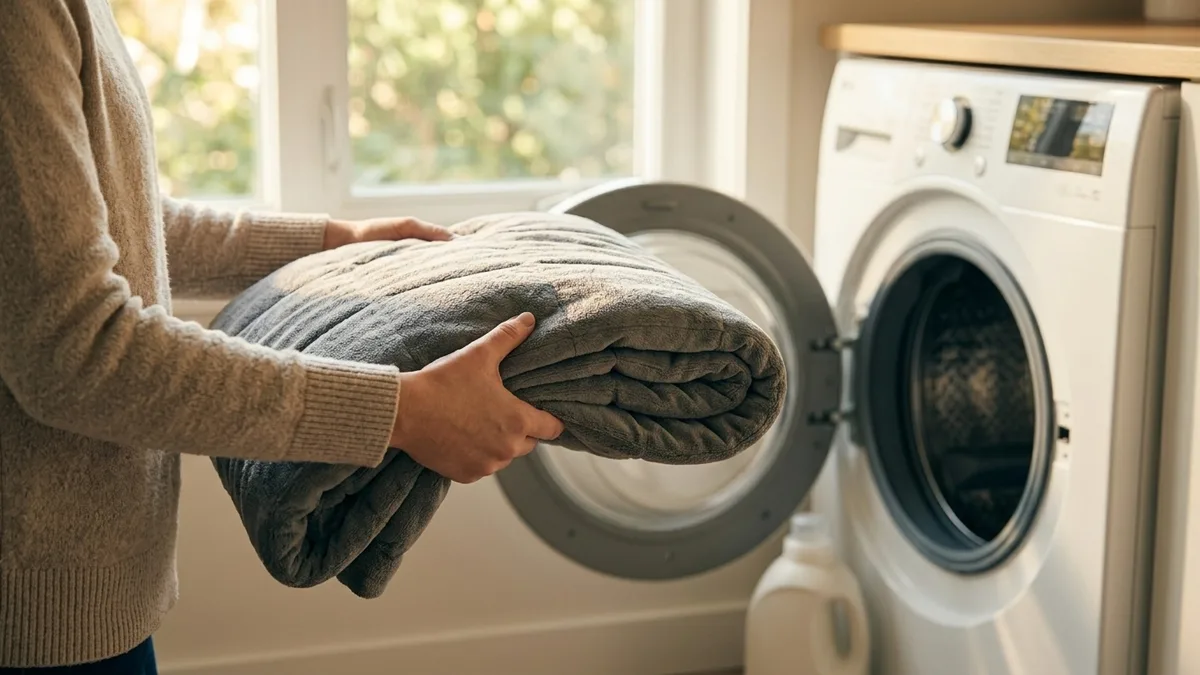
How to Wash a Weighted Blanket: Complete Care Guide
In this blog post, we’re taking the mystery (and the anxiety) out of washing your weighted blanket.
How to Wash a Backpack in the Washing Machine at Home
Can you wash a backpack in the washing machine? Often yes, if it is nylon or polyester without a frame, leather trim, or electronics. Here is how to do it safely, step by step.