How to Wash a Backpack in the Washing Machine at Home
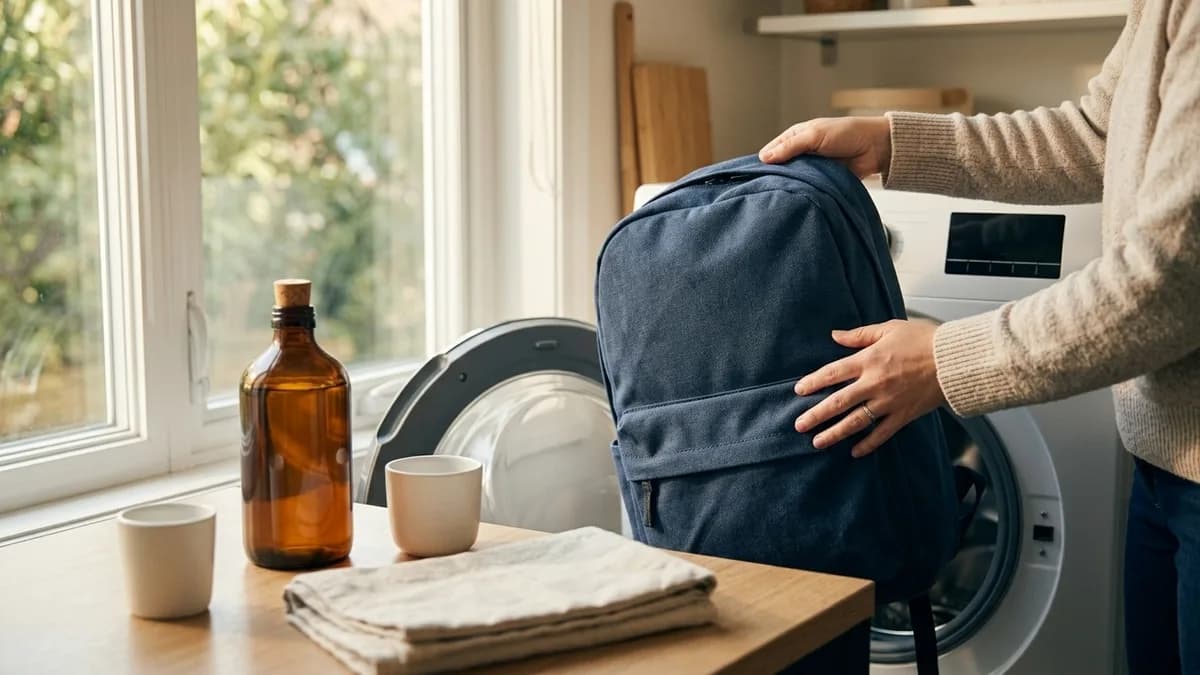
A grimy backpack carried to school, the gym, or the trail picks up sweat, food crumbs, and ground-in dirt fast. That naturally leads to one big question: can you wash a backpack in the washing machine at home without ruining it? This guide answers that first, then walks you through the exact safe steps.
In this guide you'll learn which bags are safe to machine wash, how to prep them, the right cycle settings, and how to dry them so they last. You'll also find troubleshooting for stubborn stains and odors, plus when to switch to our easy hand-wash guide instead.
Can I Wash a Backpack in the Washing Machine?
Whether you can put a backpack in the washing machine depends entirely on its construction and materials. Basic school bags, gym packs, and simple hiking daypacks usually survive a machine wash without issue. But some backpacks should never see the inside of a washing machine.
Backpacks that are generally safe to machine wash:
- Basic nylon or polyester school backpacks
- Simple gym and sports bags without complex features
- Canvas bags, with proper precautions
- Lightweight daypacks without frames
These materials withstand agitation and water exposure without significant damage.
Backpacks that should never go in the washing machine:
- Packs with internal or external frames
- Backpacks with leather trim or accents
- Bags with built-in electronics or charging ports
- Waterproof packs with specialized coatings
- Designer bags with delicate hardware
The mechanical stress and water exposure can cause irreversible damage to these components. When you're shopping for a new everyday bag, choosing a simple nylon or polyester backpack makes routine cleaning far easier down the road.
Can You Wash a Backpack in the Washer With Clothes?
If you must combine loads, pair the backpack only with old towels or sturdy, color-fast items you don't mind risking. Towels actually help by cushioning the drum and balancing the load. Never wash a backpack with anything delicate, light-colored, or new, especially if the pack is brightly dyed and could transfer color.
Quick Test: Check the Care Label
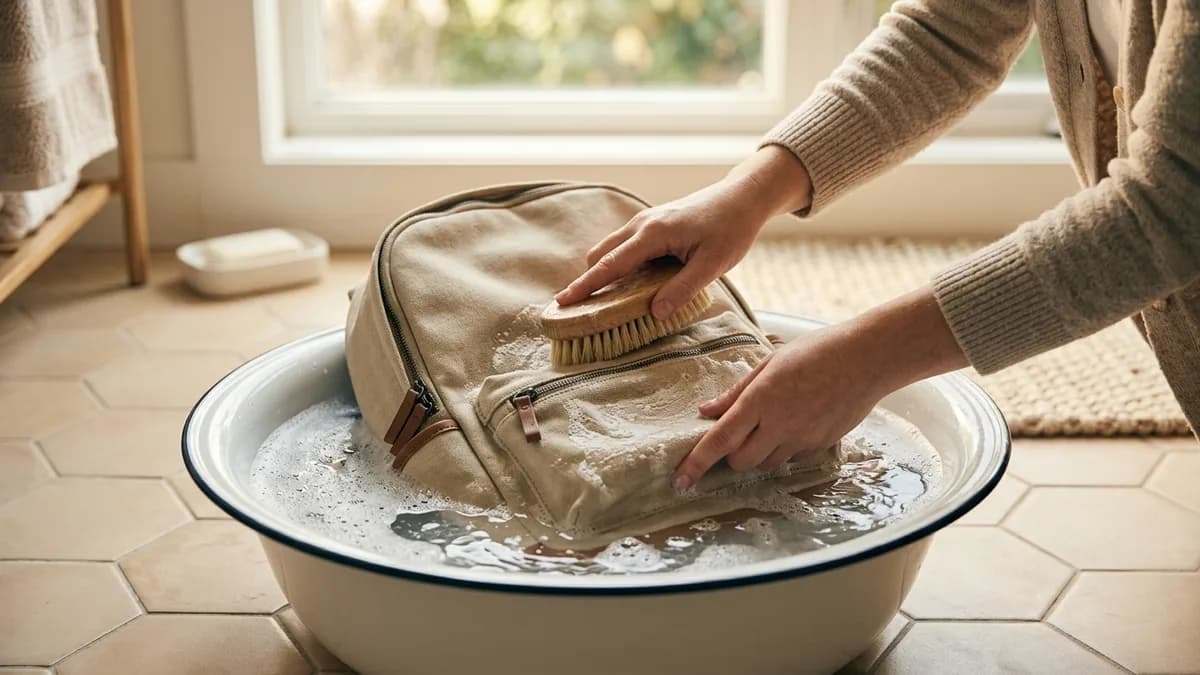
Almost every backpack hides a care label inside a pocket or along the seam. Brands like JanSport, Patagonia, REI, and Thule publish specific care advice on their websites, and their customer service teams are surprisingly helpful when you call with a specific question. If your bag is leather-trimmed or framed, our easy hand-wash guide is the gentler, safer route, and for nylon and canvas packs specifically, our nylon tote and backpack cleaning tips cover spot-cleaning between full washes.
How to Wash a Backpack in the Washing Machine: Step by Step
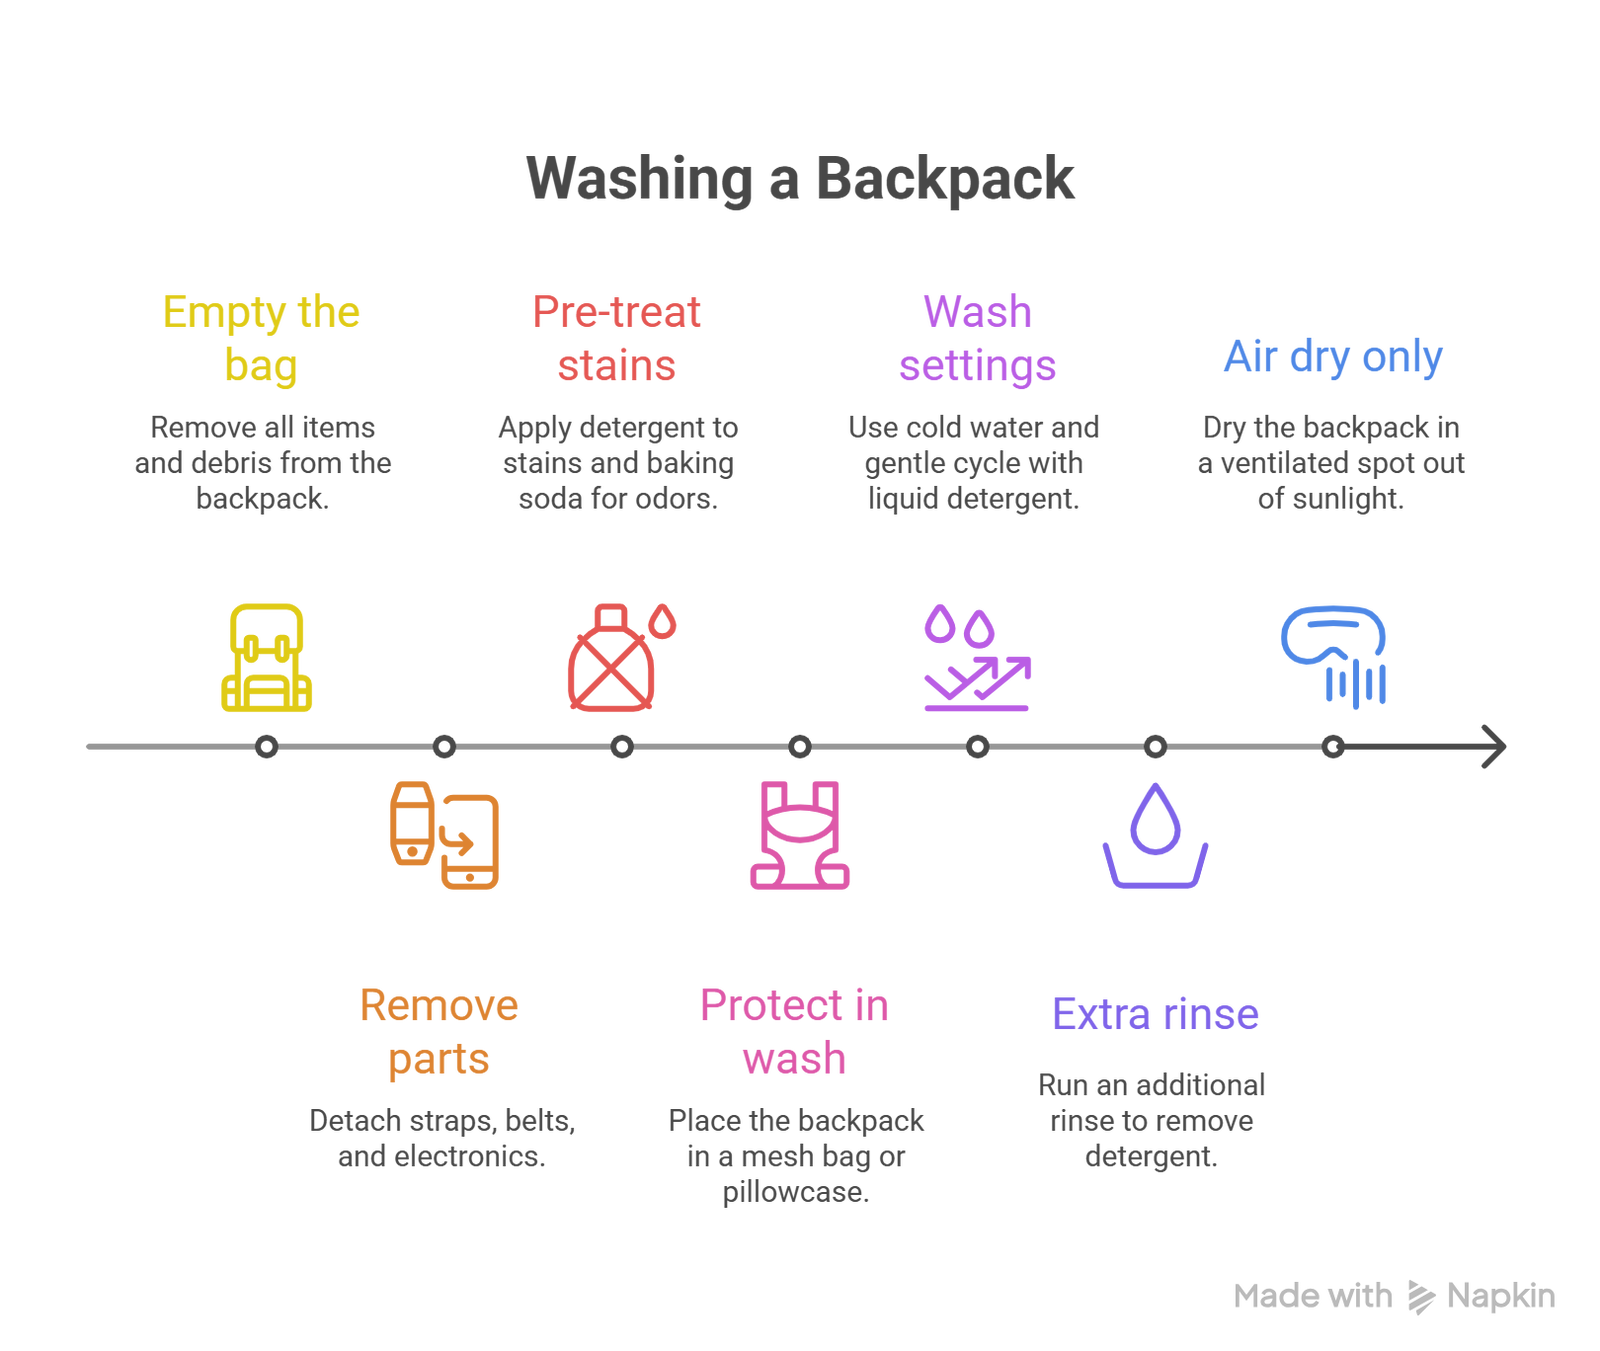
Step 1: Empty and inspect every compartment
Before you start, make sure your backpack is completely empty. This goes beyond the main pocket: open hidden zippers, laptop sleeves, and small pouches. Forgotten items like coins, pens, or lip balm can cause stains, leaks, or damage in the wash. Turning the bag inside out helps you double-check for debris that could ruin both your bag and your washing machine.
Step 2: Remove and secure detachable parts
Take off hip belts, chest straps, internal frames, and detachable pouches or organizers. These parts can crack, tangle, or need separate cleaning. Always remove electronics or charging cables, as water will destroy them. Secure or detach loose straps so they don't wrap around the washer's agitator. This is one of the most important steps for washing a backpack safely without breaking parts.
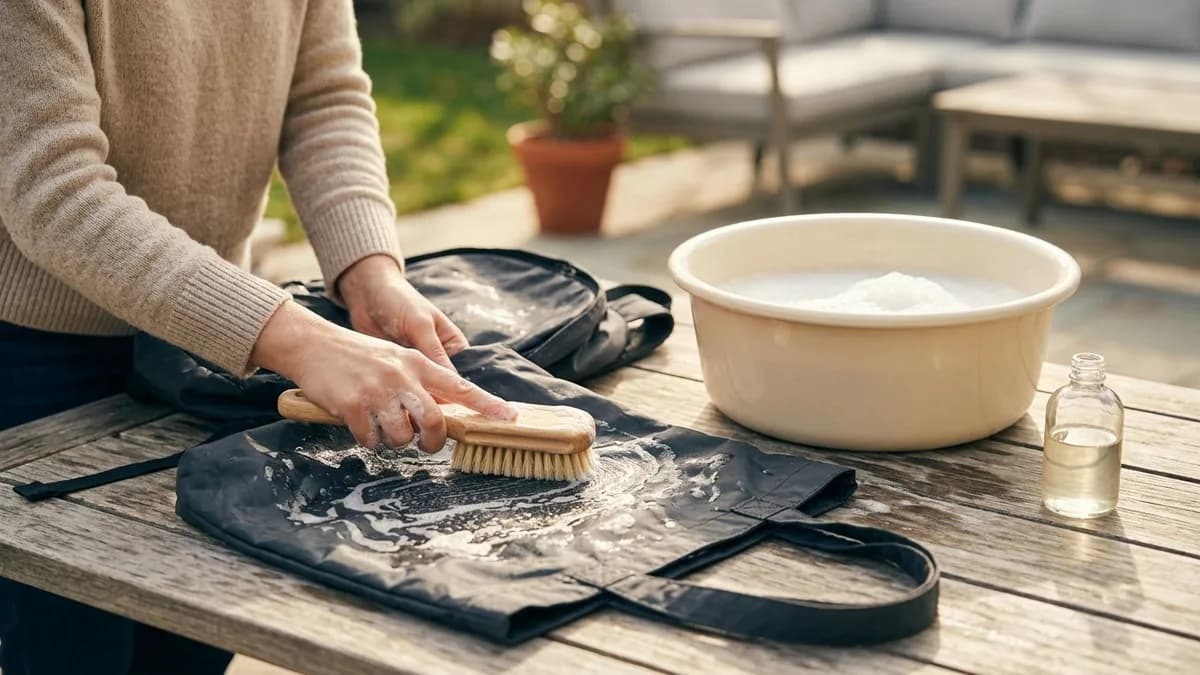
Step 3: Pre-treat stains and odors
Apply a small amount of mild liquid detergent directly onto stains and let it sit for 15 to 20 minutes before washing. This breaks down dirt at the source. If your backpack smells musty, sprinkle baking soda inside the compartments and leave it overnight, then vacuum it out. Baking soda neutralizes odors instead of masking them.
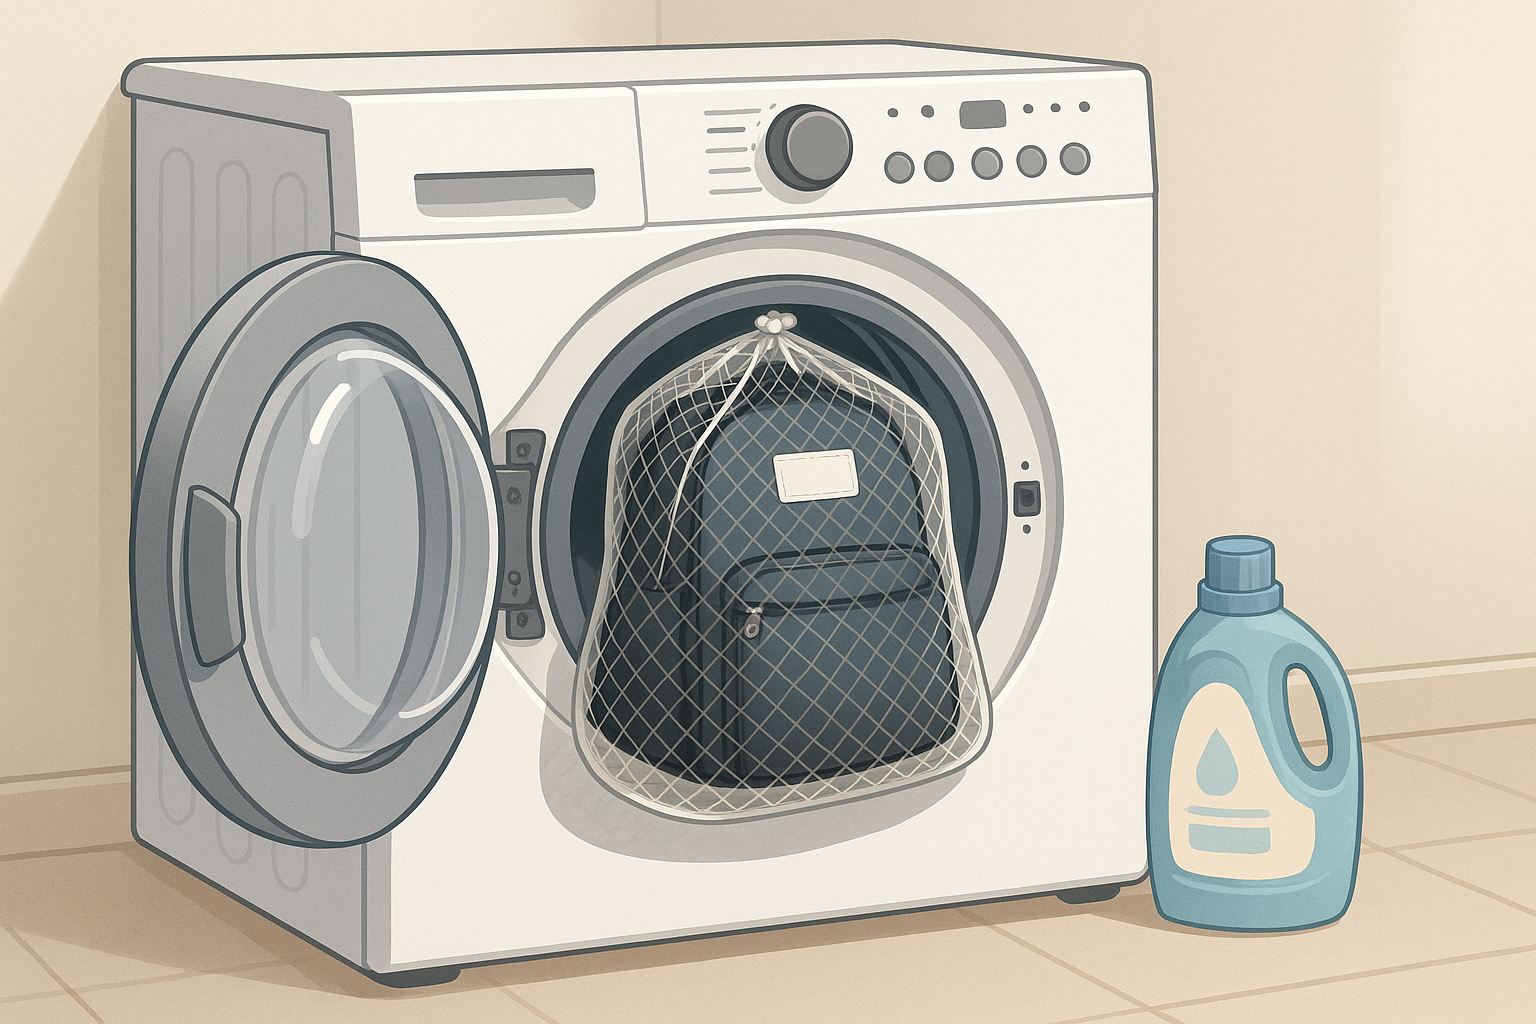
Step 4: Protect the backpack during the wash
Place the backpack inside a mesh laundry bag or a pillowcase tied shut. This simple step prevents zippers from snagging and straps from tangling. It's especially important in top-loading machines, where the central agitator can easily damage fabric or hardware. Many experts consider this step non-negotiable.
Step 5: Use the correct washing machine settings
Always use cold water (below 30°C / 86°F). Hot water can shrink fabric, fade colors, and ruin waterproof coatings. Choose the gentle or delicate cycle to minimize stress on seams and zippers. Add two or three old towels to cushion the load. Use only half the usual amount of mild liquid detergent. Avoid powdered detergents, bleach, and fabric softener, which leave residue, weaken materials, and reduce breathability in technical fabrics.
Step 6: Monitor and use an extra rinse
Stay near the washer during the first few minutes. If you hear banging or grinding, pause and redistribute the load. If your machine has an extra-rinse option, use it. Backpacks have thick padding and multiple layers where detergent hides, so a second rinse ensures soap doesn't stay trapped, which prevents skin irritation and keeps the fabric cleaner longer.
Step 7: Air dry properly, never use a dryer
This step decides whether your backpack lasts for years or gets ruined. Heat shrinks fabric, melts waterproof coatings, warps buckles, and weakens glued seams. Lift the bag from the bottom to protect seams, gently squeeze out water, and blot padded areas with towels. Place it in a well-ventilated space out of direct sunlight, and open all zippers for airflow. For faster drying, turn the bag inside out, rotate it every 12 hours, and place a fan a few feet away. In humid climates, a dehumidifier helps. Stuff the bag with clean, dry towels to hold its shape. Expect 12 to 24 hours for thin packs and 24 to 48 hours for thicker, padded bags.
Why this process works
This method combines tested cleaning practices with precautions that protect materials, coatings, and hardware. Cold water and a gentle cycle extend fabric life, while pre-treatment and extra rinsing deliver a truly clean finish. Air drying prevents the heat damage that ruins most backpacks. You're not just cleaning your bag, you're protecting your investment so it lasts longer.
Shop Easy-Clean Custom Backpacks
View all →


Troubleshooting Common Washing Problems
When stains don't come out: advanced techniques
Sometimes one wash cycle isn't enough, and that's normal for heavily soiled backpacks. Match the technique to the stain type:
- Grease and oil stains respond best to pre-treatment with dish soap before washing, since its surfactants are designed to break down oils. Let it sit 30 minutes, then machine wash. A second wash with white vinegar helps if the first attempt doesn't work.
- Blood stains need cold water and hydrogen peroxide. Never use hot water on blood, as it sets the protein permanently. Soak the area before washing; fresh blood comes out far easier than set stains.
- Ink stains need rubbing alcohol applied directly to the spot. Blot rather than rub to avoid spreading it deeper into the fabric.
Set-in odors often need extra treatment. Add about half a cup of white vinegar to the rinse cycle, or use an enzyme-based odor eliminator that breaks down odor-causing compounds at the molecular level, which works especially well on biological smells.
Addressing post-wash damage
- Stiff zippers are common after washing and easy to fix. Rub a graphite pencil along the teeth for lubrication; candle wax works too but can attract dirt. If it's still stiff, the slider may need replacing.
- Loose straps often just need tightened screws or re-threaded webbing. For complex repairs, ask the manufacturer about warranty coverage.
- Color bleeding requires immediate action. Separate affected items and rewash in cold water. Color-catcher sheets can lift transferred dye if caught quickly.
- Shape distortion can usually be corrected while the bag is still damp. Reshape it and stuff it with towels to hold form while drying, since synthetics often set permanently once dry.
When to Hand Wash Instead
Machine washing is great for simple nylon and polyester packs, but it's not for every bag. Hand washing is the safer choice for leather-trimmed, framed, coated, or electronics-laden backpacks. If that's your situation, follow our step-by-step hand-wash guide for backpacks. Smaller carry items like fanny packs usually do best with a gentle hand wash too.
If your current bag is simply too far gone, it may be time for a fresh one. Lightweight drawstring bags and sling backpacks are easy to clean and inexpensive to replace, while a durable everyday option like the Alpine rPET Backpack or the packable Anywhere RPET Backpack holds up to regular washing.
Need clean, durable backpacks for your team or event?
Final Thoughts
Machine washing is a great way to refresh a backpack, but it's not one-size-fits-all. Know your bag's materials and construction, empty every pocket, pre-treat stains, run a gentle cold-water cycle, and finish with thorough air drying. When in doubt, hand wash. A clean backpack looks better and lasts longer, making it a reliable companion for school, the gym, travel, or the outdoors.
Shop Related Categories
Related Articles
How to Clean Nylon Totes & Backpacks: Expert Maintenance Tips
If you are searching for how to clean a nylon tote bag or how to wash a nylon backpack, you are in the right place.
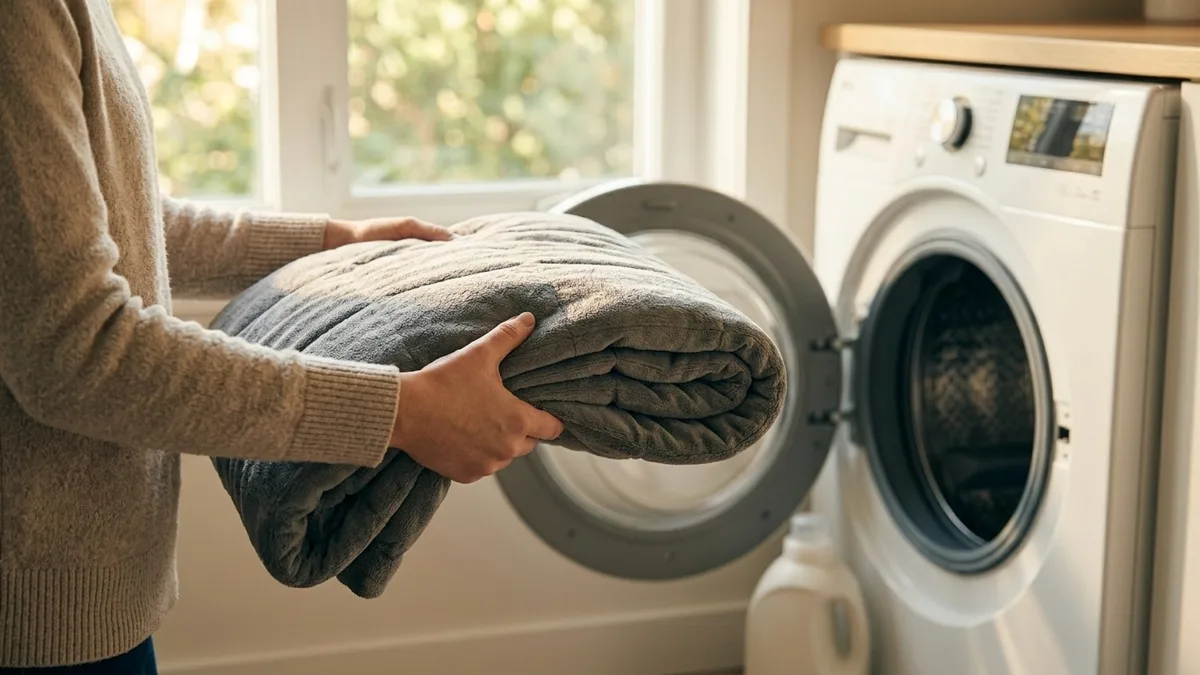
How to Wash a Weighted Blanket: Complete Care Guide
In this blog post, we’re taking the mystery (and the anxiety) out of washing your weighted blanket.
How to Wash a Backpack at Home: Easy Hand Wash Guide
Backpacks are used daily for school, work, travel, hiking, and the gym. Over time, they collect dirt, sweat, crumbs, and odors.

How to Remove Coffee Stains from Mugs
In this blog, we walk through simple, practical ways to remove coffee stains from cups and mugs so your favorite cup looks brand new again.