
How to Put a Photo on a T-Shirt: Methods, Photo Size and a Free Checklist
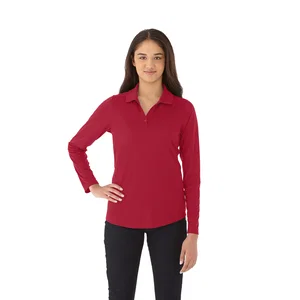
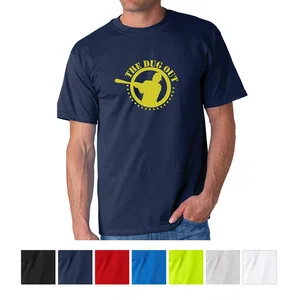
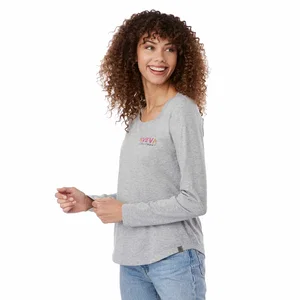
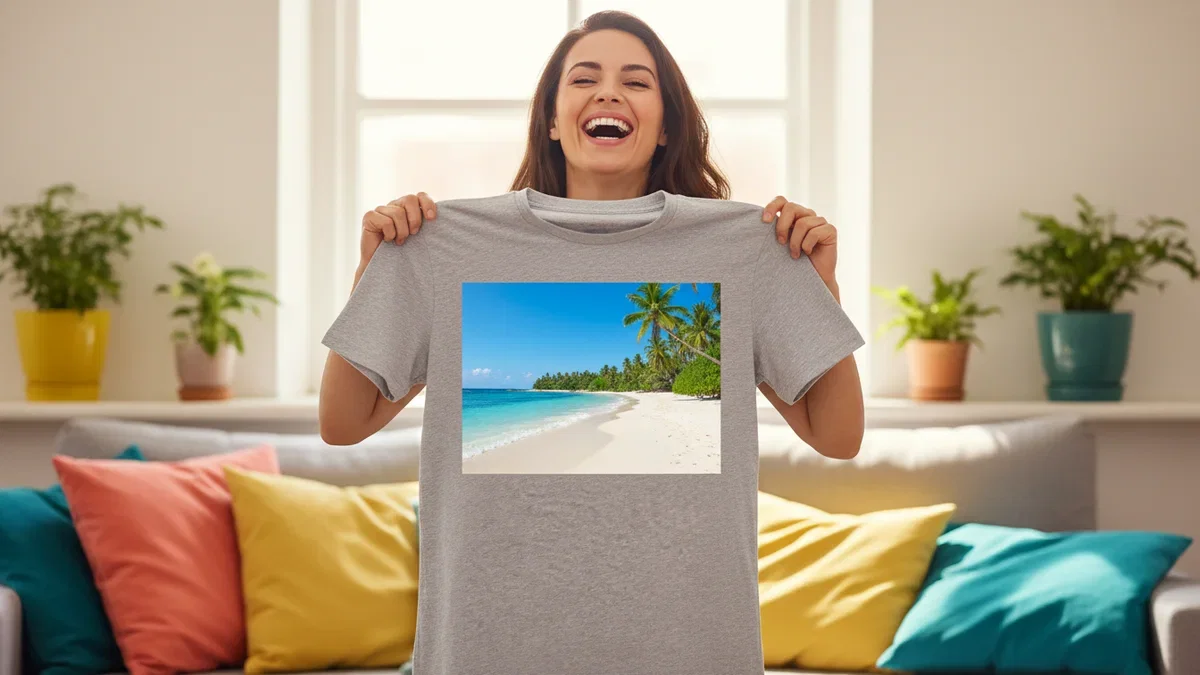
Here is how to put a photo on a t-shirt: pick a clear photo that is large enough for the print size, choose a print method that handles full color, and approve a proof before anything is printed. That is the whole job. The rest of this guide shows you how to check your photo in two minutes, which method fits your shirt and your group, and exactly what to send so the first shirt comes out right. There is a free printable checklist in the middle, and a note you can copy and paste into your order near the end.
T-Shirts That List Digital Transfer Printing
View all custom t-shirts →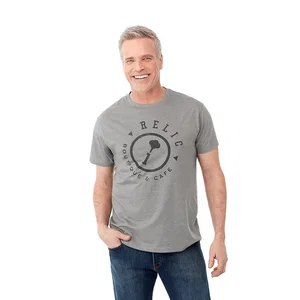
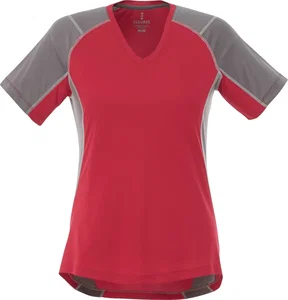

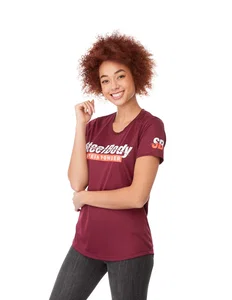
A photo is the hardest thing you can put on a shirt, and also the most loved. A logo forgives a little blur. A face does not. If you searched for how to print a picture on a shirt, the good news is that the rules are simple and you can check almost all of them yourself before you spend anything. Printing photographs on t shirts is a different craft from printing a logo, so the steps below follow the order in which problems actually show up: the photo first, then the print method, then the shirt, then the order.
Whether you want a picture on shirt fronts for a reunion or photo printed tee shirts for a team, here is how to print photos onto t shirts in four steps. Work through them in order and you will know whether your photo is good enough, which method suits it and what to send. If you are still dreaming up what the shirt should say or show, our guide to custom t-shirt design ideas is a good companion.
Step 1: Check Whether Your Photo Is Good Enough
Your photo is good enough when it has about 300 pixels for every inch of the printed size. A photo is a grid of tiny dots called pixels. Stretch too few of them across a big print and the edges turn soft and blocky, the same way a small picture looks when you zoom in too far. Our artwork guidelines ask for raster files such as .png or .jpg at 300 DPI or higher at the actual imprint size, and note that low-resolution images, screenshots and web graphics generally cannot be used as-is.
That sounds technical, but it comes down to one table. Find the width you want to print, then read across to see how many pixels wide your photo needs to be.
| Print width | Pixels needed across | Good for |
|---|---|---|
| 4 inches | 1,200 pixels | Left chest |
| 8 inches | 2,400 pixels | Small front print |
| 10 inches | 3,000 pixels | Standard front print |
| 12 inches | 3,600 pixels | Large front print |
| 14 inches | 4,200 pixels | Oversized print |
A photo straight off a 12 megapixel phone camera is about 4,000 by 3,000 pixels. That is enough for most front prints, as long as you use the original file and not a copy that has been shrunk on its way to you.
How to Find Your Photo's Pixel Size
You do not need special software. A few taps or clicks will show the size.
- On a phone: open the photo in your gallery, then open the details or info panel. Most phones list the dimensions there, written as width by height in pixels or as megapixels.
- On a Windows computer: right-click the file, choose Properties, then the Details tab. Look for Dimensions.
- On a Mac: select the file and press Command and I, or open it in Preview and choose Show Inspector. The pixel dimensions are listed there.
Compare the first number, the width, with the table above. If it is at or above the number for your print width, you are set. If it is a little under, tell us the print size you want and we can say whether it will hold up. If it is far under, read the section on making a photo look better, below.
Why Screenshots and Social Media Downloads Fail
The most common reason a photo gets turned down is that it is not the original. When a photo is sent through a messaging app, posted online or screenshotted, the app shrinks it and squeezes it to save space. The picture still looks fine on a phone screen, which is small, but the detail is gone. Printed on a shirt, the missing detail shows up as fuzzy edges and blocky patches.
So go back to the source. Find the file on the phone or camera that took the photo, or ask the person who took it to send the original through email or a file-sharing link instead of a chat app. If someone else holds the original, that one request saves most of the trouble.
Look at Light, Focus and Cropping Room
Size is only half of it. Three quick looks tell you the rest.
- Light. A photo taken in even daylight prints better than one with harsh shadows or a bright window behind the person. Dark, grainy photos look darker and grainier on fabric.
- Focus. Zoom in on the eyes. If they are sharp on the screen at full size, they will be sharp on the shirt. If they are soft on the screen, printing will not fix it.
- Cropping room. Leave some space around the subject. If the head is cut off at the edge of the photo, there is nothing to work with. A little spare background lets you crop to a clean shape later.
Download the Free Photo-to-Shirt Checklist
Here is a one-page checklist you can print and keep next to your computer. It has seven checks and the pixel size table from above, so you can tick things off as you go.
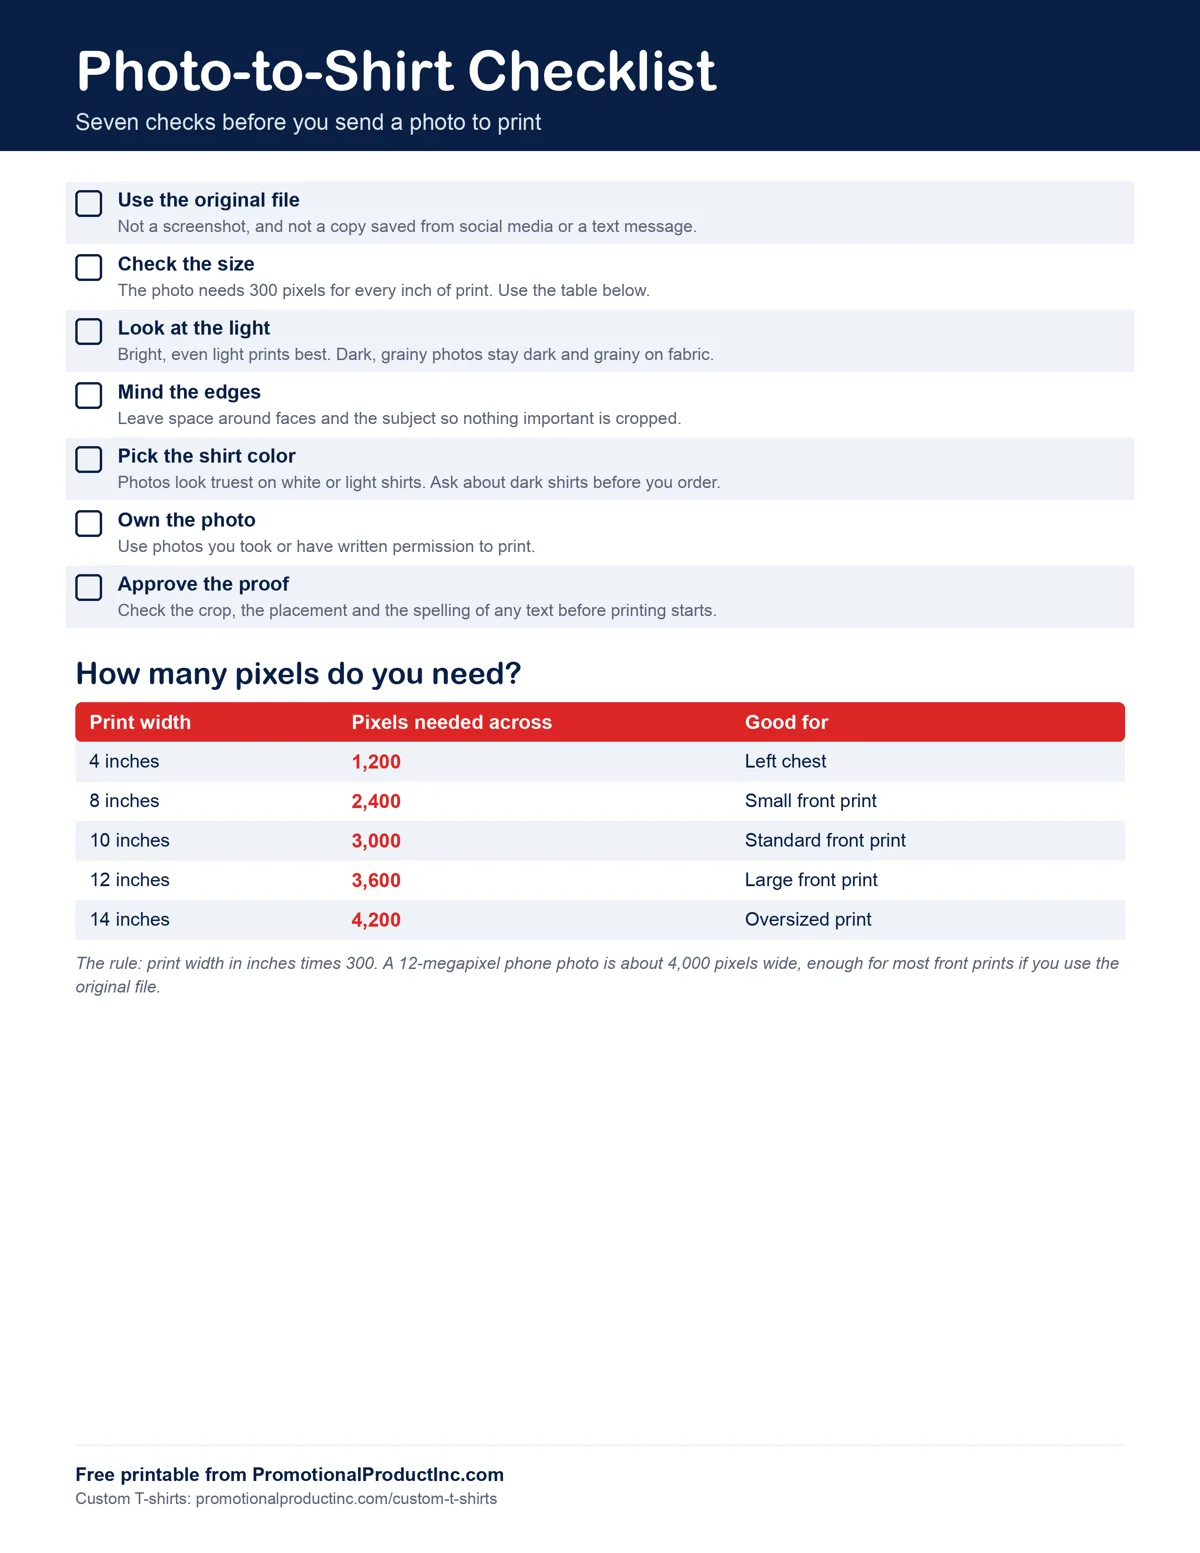
Download the free Photo-to-Shirt Checklist (PDF)
The seven checks are:
- Use the original file.
- Check the size.
- Look at the light.
- Mind the edges.
- Pick the shirt color.
- Own the photo.
- Approve the proof.
Each one is explained in this guide, so if you want the detail behind a check, the section on that topic has it.
Step 2: Pick the Best Way to Print Photo on T Shirt Fabric
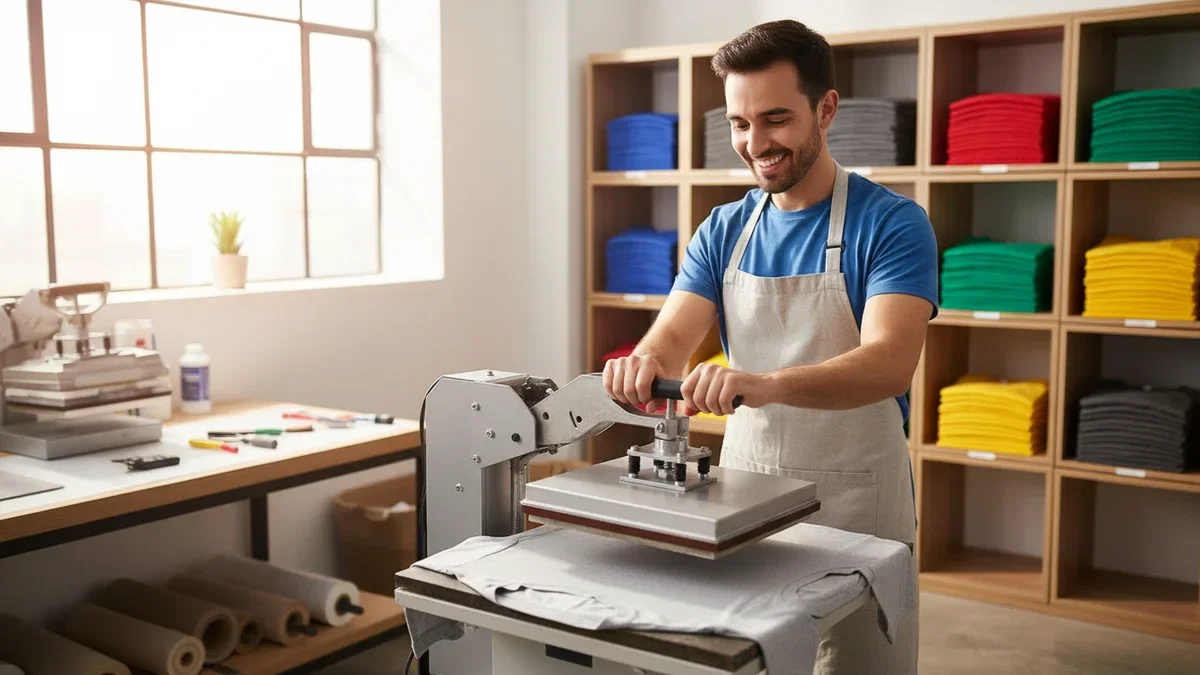
For a full-color photo, choose digital transfer, sublimation, DTG or DTF. Screen printing can do photos but is better for simpler art, and embroidery cannot reproduce a photograph at all. If you want to print photo on t shirt fabric and keep skin tones and fine detail, those four methods are the ones to ask about. Which one is available depends on the shirt you choose, and each product page on our site lists its decoration options, so check the page or ask us before you fall in love with a shirt.
You can put photo on shirt fabric several ways, and an image printed on t shirt material looks different with each. Here is each method in plain words.
Digital Transfer and Heat Transfer
How it works: the photo is printed onto a transfer sheet, then applied to the shirt with heat and pressure. The image sits on top of the fabric.
Best for: small and mid-size runs, and a wide range of fabrics and shirt colors. It is a good all-round answer when you need a handful of photo shirts or a few dozen.
Watch out for: the print is a layer on the surface, so you can feel it, especially on a big photo. Ask how the transfer behaves on stretchy fabric if you plan a large print on a fitted shirt.
Sublimation
How it works: special ink turns into a gas under heat and becomes part of the fabric fibers instead of sitting on top. There is no raised layer, so the shirt feels the same where the photo is.
Best for: polyester or high-polyester shirts in white or a light color, where you want a soft feel and a crisp image. Many athletic and tech tees are made for it.
Watch out for: it needs polyester to work, so a plain cotton tee is out. It cannot print white, so the shirt color shows through every light area of the photo. It suits white and light shirts best.
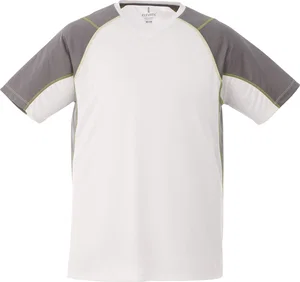
T-Shirts That List Sublimation
View short-sleeve tees →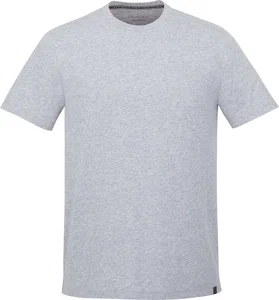


Direct-to-Garment (DTG) and Direct-to-Film (DTF)
How it works: both print a photo digitally, a bit like a very large desktop printer. DTG prints the ink straight onto the shirt. DTF prints onto a film first, and the film is then applied to the shirt.
Best for: detailed, full-color images such as portraits, pets and landscapes. DTG tends to favor cotton shirts.
Watch out for: availability depends on the shirt and on what the decorator offers for it. Do not assume every shirt can be printed with every method. Check the product page, or ask us which method suits the shirt you have in mind.
Screen Printing
How it works: ink is pushed through a mesh stencil, one color at a time.
Best for: logos, text and solid colors, and larger runs of simpler art. Photos are possible through halftones, where the image is built from tiny dots, or through a process that simulates full color.
Watch out for: photos take more setup than a logo, so this route makes sense when you need a lot of shirts and the photo is bold and simple. For a handful of shirts, one of the digital methods is the easier path.
Classic Cotton Tees for Screen Printing
View all custom t-shirts →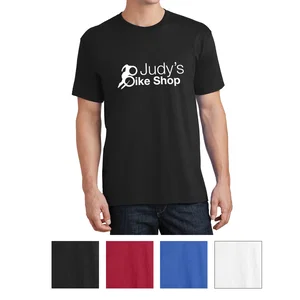
Embroidery
How it works: thread is stitched into the fabric.
Best for: logos, names and simple shapes on polos, hats and jackets.
Watch out for: embroidery is not suitable for photographs. Thread cannot carry the soft shading of a face. If you want stitching on a project, use it for a name or a simple mark, and use a printed method for the photo.
Print Method Comparison
| Method | Best for | Watch out for |
|---|---|---|
| Digital or heat transfer | Small and mid-size runs on many fabrics and colors | Sits on the surface, so you can feel large prints |
| Sublimation | Polyester shirts in white or light colors, soft feel | Needs polyester and cannot print white |
| DTG and DTF | Detailed full-color images | Availability depends on the shirt |
| Screen printing | Bold art and larger runs | Photos need halftones and extra setup |
| Embroidery | Names and simple logos | Not suitable for photographs |
Step 3: Pick the Shirt
Pick the shirt after you pick the method, because the fabric decides what each method can do. People often choose a shirt first and then learn that their favorite style does not suit the print they want. A short fabric check up front avoids that.
Cotton, Polyester or a Blend
- Cotton is soft and familiar. It works well with transfers, DTG and screen printing. It is not the right base for sublimation.
- Polyester is the fabric sublimation needs. It also dries fast, which suits sports days and walks.
- Blends mix the two. A blend with plenty of polyester can take sublimation, while a cotton-rich blend leans toward the other methods. If a product page lists sublimation, the shirt is built for it.
Shirt Color Matters More Than You Think
Photos look truest on white or light shirts. Many photo methods print on top of what is already there, so a light shirt lets every color in the photo show as it should.
A dark shirt is possible with some methods, but the photo then needs a white underlay, a layer of white printed first so the colors do not sink into the dark fabric. It changes the look and the price of the job, so ask before you order. Sublimation cannot print white at all, which is why it is paired with white and light fabrics.
Where the Photo Goes and How Big It Is
- Full front: the classic choice for portraits, pets and scenery. Use the 10 inch or 12 inch rows in the table above.
- Left chest: small and neat, around 4 inches. Good for a face or a simple image, less so for a busy group photo.
- Back: a good place for a team photo or a caption while the front stays plain.
Match the print to the shirt size too. A 12 inch print looks right on a large adult tee and can swamp a small or youth size. If you are ordering a range of sizes for a group, check our t-shirt size chart first so the print sits where you expect on every size.
Step 4: Send Your File and Put a Picture on a Shirt the Right Way
To put a picture on a shirt without surprises, send the original photo and the details of the job in one message. The more you tell us up front, the fewer questions come back, and the fewer chances there are for something to be guessed.
What to Send
- The original photo file, not a screenshot, and not a copy that has been through a chat app.
- The shirt and color you have chosen.
- The print size in inches, using the table above if you are unsure.
- The placement: full front, left chest or back.
- The quantity and the sizes you need, such as 12 adult medium and 6 adult large.
- Any words to add, such as a name, a date or a caption, and where they should sit.
A Copy-Ready Order Note
Paste this into your order notes or email and fill in the blanks.
I would like to put a picture on a shirt. The photo is attached as the original file, taken on my phone, and it is [width] pixels across. Shirt: [style and color]. Print size: [number] inches wide, on the [front / left chest / back]. Quantity: [number], in these sizes: [list]. Please add the text "[your words]" under the photo. Please let me know if the photo is large enough for this print size, and send a proof for approval before printing.
What to Check on the Proof
A proof is a picture of the finished shirt that you approve before it is made. It is your last chance to catch a problem, so look at it slowly.
- The crop. Is anyone cut off at the edge? Is the face where you expected it?
- The sharpness. Zoom in. If it looks soft on the proof, it will look soft on the shirt.
- The colors. Skin tones should look natural. Screens differ, so a slight shift is normal, but a big change is worth asking about.
- The text. Check every letter, name and date. Spelling mistakes are the most common error nobody notices until the shirts arrive.
- The placement and size. Is the photo centered and sitting where you asked?
- The shirt color and quantities. Make sure the list matches your order.
Approve only when every point looks right. If something is off, say so in plain words and ask for a new proof.
Photo Shirt Ideas People Actually Use
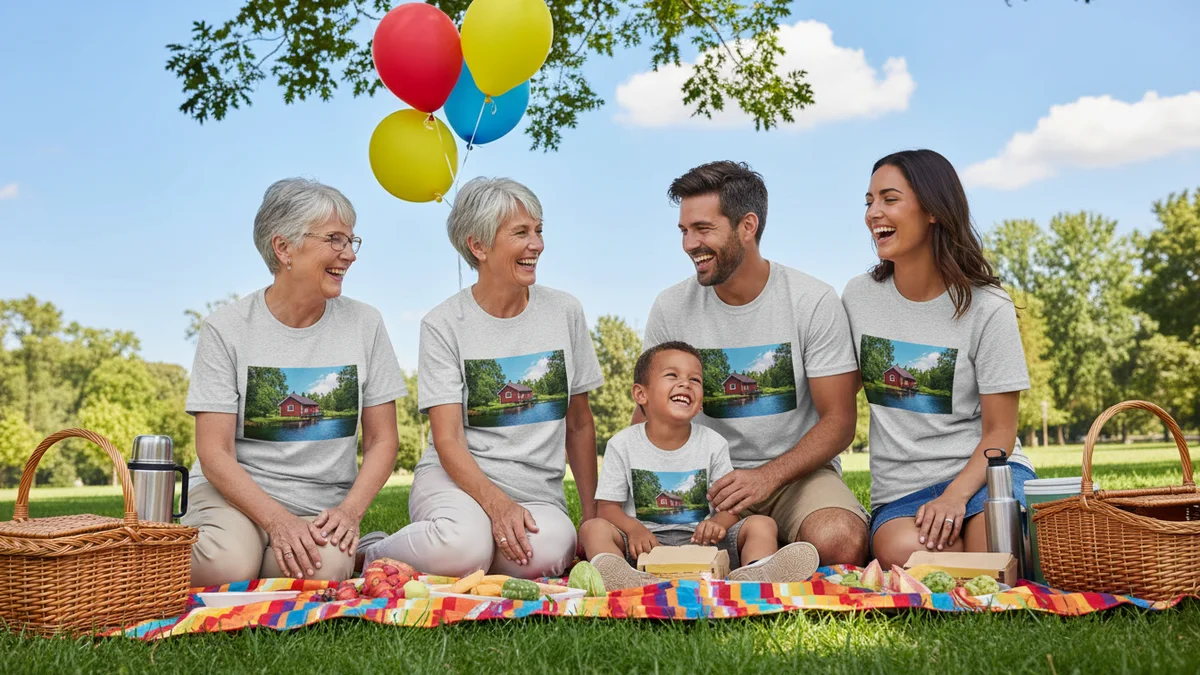
The photo shirts people order most are for family reunions, memorials, birthdays, parties and teams, and each one works best with a simple design. If you are still deciding whether to make a shirt with a picture, these ideas show where it fits, and each comes with a design tip.
- Family reunion: one photo of the whole family, printed on every shirt. Tip: pick an old group photo and add the year and the family name underneath.
- Memorial or in-memory shirts: a clear photo of the person, with their name and dates. Tip: choose a calm, natural photo they would have liked, keep the layout simple and use a light shirt so the photo stays true.
- Birthday and milestone: a baby photo for an adult birthday is always a favorite. Tip: pair it with the age in large letters.
- Bachelor and bachelorette: the guest of honor's face on every shirt. Tip: crop tight so the face is large and easy to read from across a room.
- Pet photo shirts: a dog or cat portrait for the whole household. Tip: pick a photo with the animal's eyes sharp and facing the camera, then remove any busy background.
- Team and class photo: one group shot for the whole roster. Tip: use a wide print on the back and a small team name on the front. For team name ideas, see our post on trivia team names.
- Company event or retirement: a favorite photo of the guest of honor, printed on a shirt for the whole office. Tip: add the date and a short line, and keep the company mark small.
- Charity walk in honor of someone: the person's photo with the name of the walk or the cause. Tip: use a light shirt and a large print so the photo reads from a distance when the group walks together.
Shirts with photos on them also make a good gift because they are personal in a way a logo shirt is not. A t shirt with picture on it from a family trip, a game day or a wedding weekend gets worn long after other gifts are forgotten.
Make the Photo Look Better Before You Print
You can improve most photos with a few free, simple fixes, and the best fix is usually a tighter crop. You do not need design skills. The photo and gallery tools already on your phone or computer can do all of this.
- Crop tighter. Cut out empty sky, floor and background so the face or subject fills more of the frame. A tight crop also makes the print feel bolder. Check the pixel size again after cropping, since a crop removes pixels.
- Straighten. If the horizon tilts or the person leans, use the straighten tool and level it.
- Brighten slightly. A small lift in brightness helps because fabric tends to print a little darker than a screen looks. Do not overdo it, or the skin turns washed out.
- Remove a busy background. A messy room or a crowd behind the subject competes with the face. Blur it, crop it out or ask a friend who edits photos for a clean cutout.
- Add a border or a line of text under the photo. A simple frame makes a photo look like a design instead of a sticker, and a name or a date under it makes it feel finished.
Two things to avoid. First, do not enlarge a small photo and expect more detail. When a small file is stretched on a computer, the software only guesses at the missing pixels and the result looks smooth and blurry. Second, avoid heavy filters. Strong color effects, extreme contrast and dramatic edits look different on fabric and are hard to match from a screen.
If your photo is simply too small, ask whether a smaller print would work. A photo that is too low for a 12 inch print might be fine at 8 inches.
Doing It at Home With Iron-On Paper
Iron-on transfer paper is a real option for a single shirt, and it is a good fit for a one-off gift or a test. If you are curious how to print image on t shirt fabric at home, the idea is simple: print the photo on special transfer paper with a home inkjet printer, then press it onto the shirt with a household iron or a small press.
Here is the honest picture of what you get.
- The feel. Many home transfers leave a stiff, shiny layer that you can feel, and a big photo can feel like a sticker.
- Washing. Home transfers can crack or peel with repeated washing, especially if the shirt is washed hot or ironed over the print.
- Color accuracy. A home printer and a home iron do not always give the same colors as your screen, so skin tones can shift.
- Mirror image. Transfer paper made for light shirts often needs the photo flipped into a mirror image before printing, otherwise any text comes out backward. Check the paper's instructions before you print.
Home printing makes sense for one shirt, a craft afternoon or a quick test of an idea. When you need matching shirts for a group, or a result that lasts and looks the same on every shirt, ordering is the better route. A decorator uses a commercial process and a proof, so every shirt in the order matches the one you approved. If you do want to try a home transfer first, our checklist above still applies: use the original file and check the size.
Permission and Copyright in Plain Words
Only print photos you took yourself or have written permission to use. A photo belongs to the person who took it, even if it shows you. That has a few practical results.
- Photos you took yourself are yours to print.
- Photos of other people need their okay. For a memorial, a birthday or a team shirt, ask the people in the photo, or their family, before you print.
- Professional portraits and studio team photos usually belong to the photographer. The studio may need to give you written permission, so ask before you order.
- Logos and characters belong to someone else. A cartoon character, a sports team mark or a brand logo cannot be printed just because you can find an image of it online.
When in doubt, ask for the permission in writing, even if it is a short email. It takes a minute and keeps everyone comfortable, and we may ask you to confirm you have the right to use a photo before we print it.
Care for Your Photo Shirt
Follow the care label first, and treat the print gently. In general terms, a photo shirt lasts longest when you:
- Wash it inside out.
- Use cold water.
- Dry on low heat, or hang it dry.
- Never iron directly on the print. If you must iron, turn the shirt inside out.
Keep it away from harsh bleach, and wash it separately from rough items such as jeans or towels the first few times.
Can You Put Any Picture on a Shirt?
You can put almost any picture on a shirt as long as it is large and sharp enough and you have the right to use it. The file has to meet the size rule, with about 300 pixels for every inch of print, and the picture has to be yours or come with permission. Logos, characters and professional portraits usually belong to someone else, so ask first. If you want to make a shirt with a picture that is small or soft, a smaller print or a simpler design can still work.
What Is the Best Way to Print a Photo on a T-Shirt?
For most people, the best way is a full-color digital method, such as digital transfer, sublimation, DTG or DTF. Which one is best depends on the shirt. Sublimation suits white or light polyester shirts and gives a soft feel. DTG and DTF are good for detailed images, and digital transfer works on many fabrics and colors for small and mid-size runs. Screen printing suits bold art and bigger orders. Check the decoration options on the product page, or ask us.
How Big Does a Photo Need to Be to Print on a Shirt?
A photo needs about 300 pixels for every inch of print, so a 10 inch print needs a file about 3,000 pixels wide. A 4 inch left chest print needs about 1,200 pixels, an 8 inch print about 2,400, a 12 inch print about 3,600 and a 14 inch print about 4,200. A 12 megapixel phone photo is about 4,000 by 3,000 pixels, which is enough for most front prints if you use the original file.
Can You Print a Photo on a Black Shirt?
Yes, with some methods, but a dark shirt needs a white underlay so the photo colors show. The underlay is a layer of white printed first, and it changes the look of the print. Sublimation cannot print white, so it will not work on a dark shirt. Photos look truest on white or light shirts, so ask us which methods are available for the dark shirt you have in mind before you order.
Will a Phone Photo Work for a T-Shirt?
Yes, a phone photo works for most front prints if you send the original file. Modern phone cameras take photos large enough for many print sizes. The trouble starts when a photo is screenshotted, sent through a chat app or saved from social media, because those steps shrink it. Open the details panel to check the pixel width, send the original, and compare the width with the table in Step 1.
How Do I Make a Shirt With a Picture for a Group?
Pick one photo, one shirt style and one print size for the whole group, then order everything together. Collect the sizes first, using a shared sheet so each person adds a name and size. Send the original file with the quantity and sizes, approve one proof, and every shirt will match. If you are asking how to put a photo on a t-shirt for twenty people instead of one, that shared proof is what makes the group look like a group.
Ready to put your photo on shirts? Tell us the shirt, the size and the photo.
Shop Related Categories
Share this post with your team
Send it to a colleague or save it for later.
Related Articles
Custom T-Shirt Cost: What Drives the Price and How to Pay Less in Bulk
What sets the price of a custom T-shirt, how quantity breaks work, how to read a price table, twelve ways to pay less, and a copy-ready quote request with a free printable worksheet.
Retirement Plaque Wording and Award Wording Examples
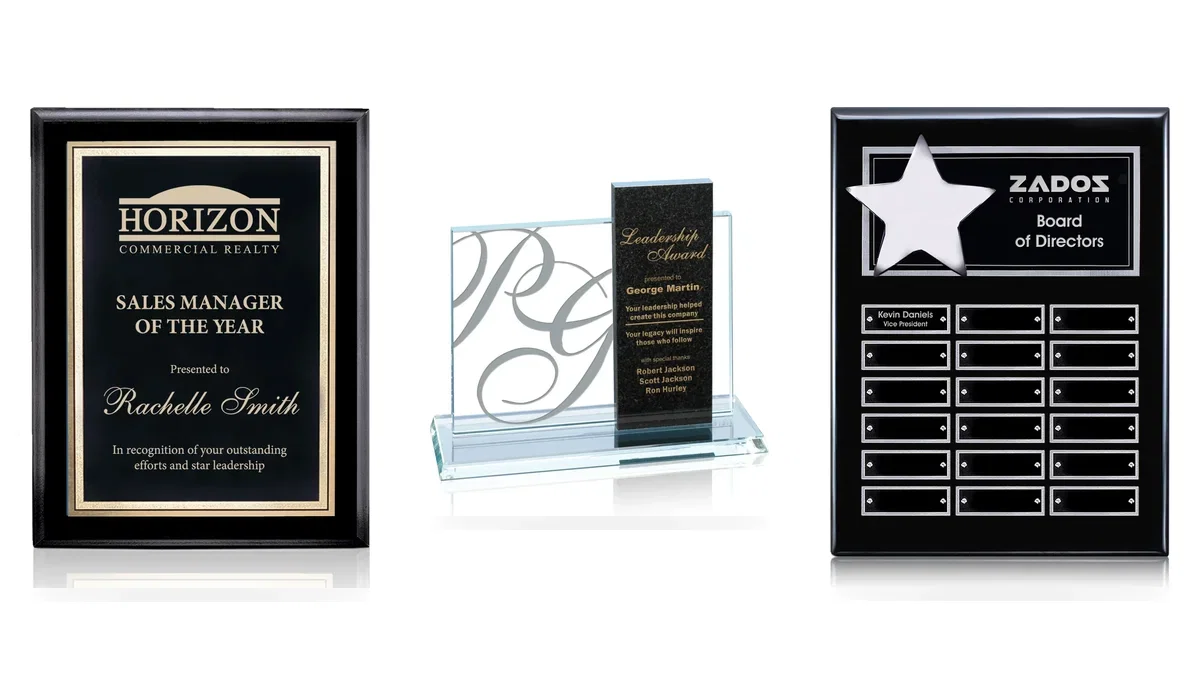
Not sure what to write on the plate? Copy these retirement plaque wording ideas and award wording examples for retirement, appreciation, achievement, dedication, and more, then adjust the names and dates.
How to Run an Employee of the Month Program That Works
A good employee of the month program is simple, fair, and easy to repeat. Here are the steps, a sample criteria list, and reward ideas that keep people motivated all year.
How to Clean Nylon Totes & Backpacks: Expert Maintenance Tips
If you are searching for how to clean a nylon tote bag or how to wash a nylon backpack, you are in the right place.