12/15/2024
I am sure all of us have thought about this at least once: How do I clean my hairbrush? and Can it be done at home? Hairbrushes are everyday essentials, but they often get overlooked in our cleaning routines. Over time, they gather hair, oil, product residue, and bacteria, which can reduce their effectiveness and affect your hair’s appearance.
Maintaining clean hair tools is more than just about looks; it plays a role in keeping your scalp healthy and your hair shiny. A dirty brush can spread grime, transferring buildup back to your hair and making your grooming less effective. Thankfully, giving your brush a proper clean is simple and can be done at home with minimal effort.
Personalized Hair Brushes & Combs
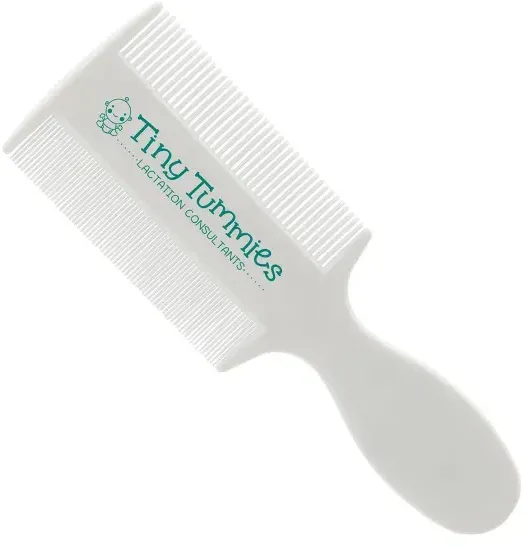
Customized Baby Comb
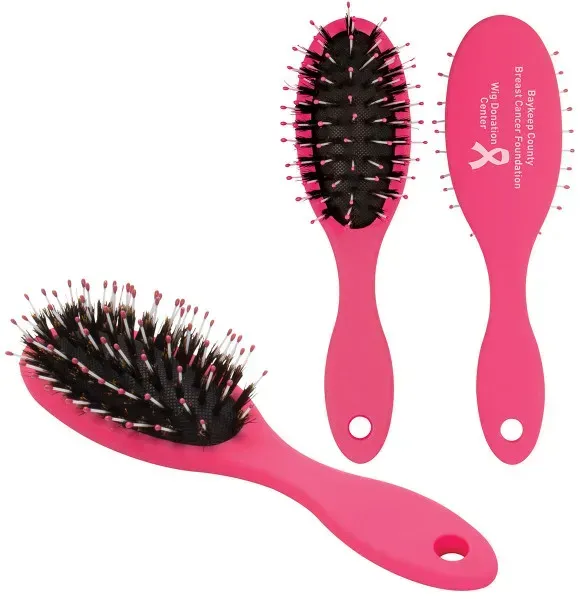
Custom Soft Feel Hair Brush

Promotional Boutique Comb

Personalized Salon Styler Comb
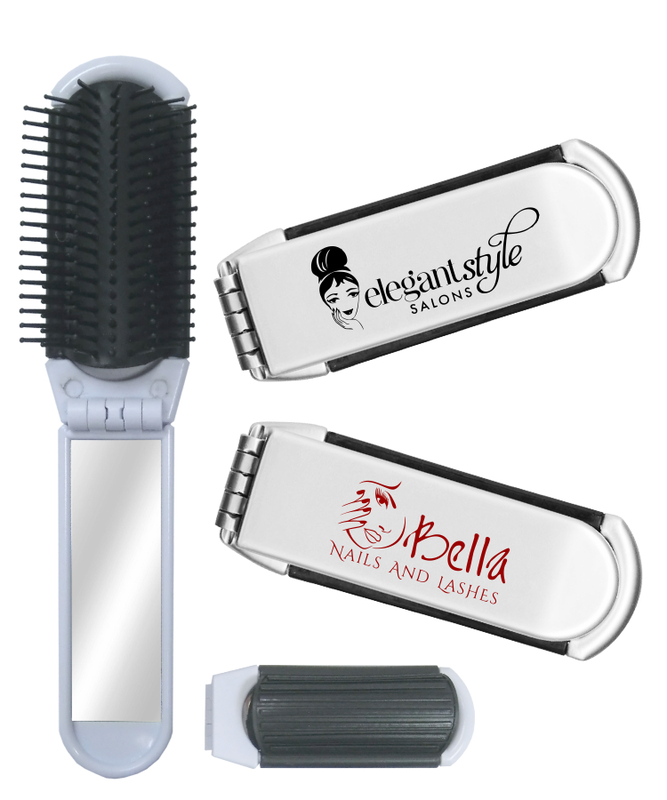
Compact Folding Hair Brush with Mirror - Single Color
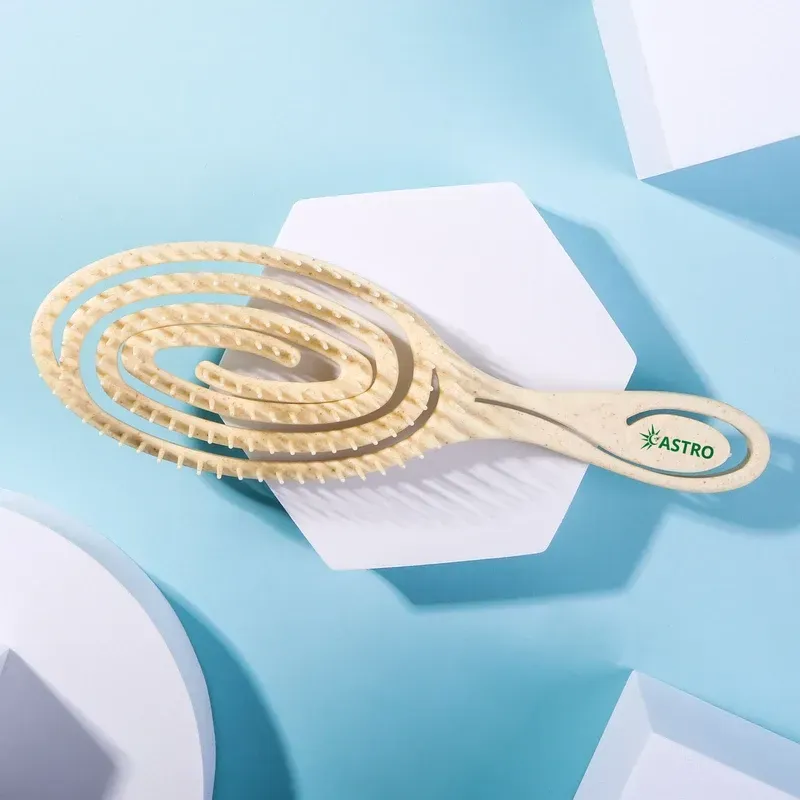
Naturegrain Wheat Straw Brush
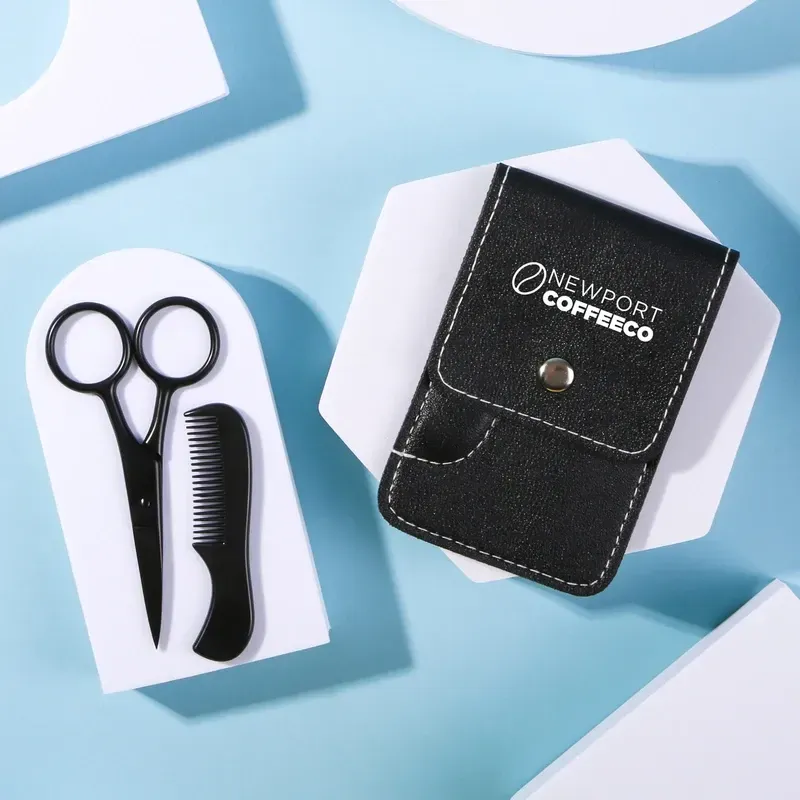
Protip Trimming Set
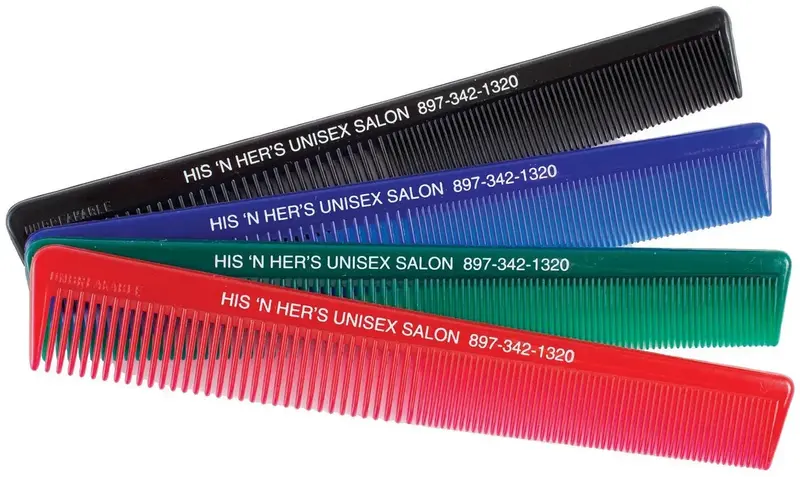
Custom Logo Styling Comb - Unbreakable 7"
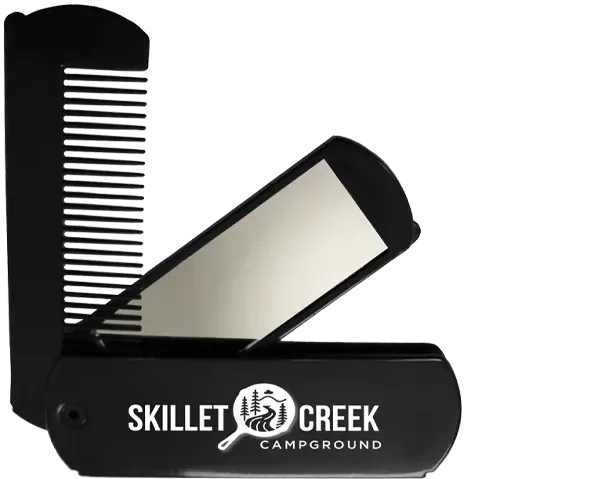
Custom Pocket Mirror & Folding Comb
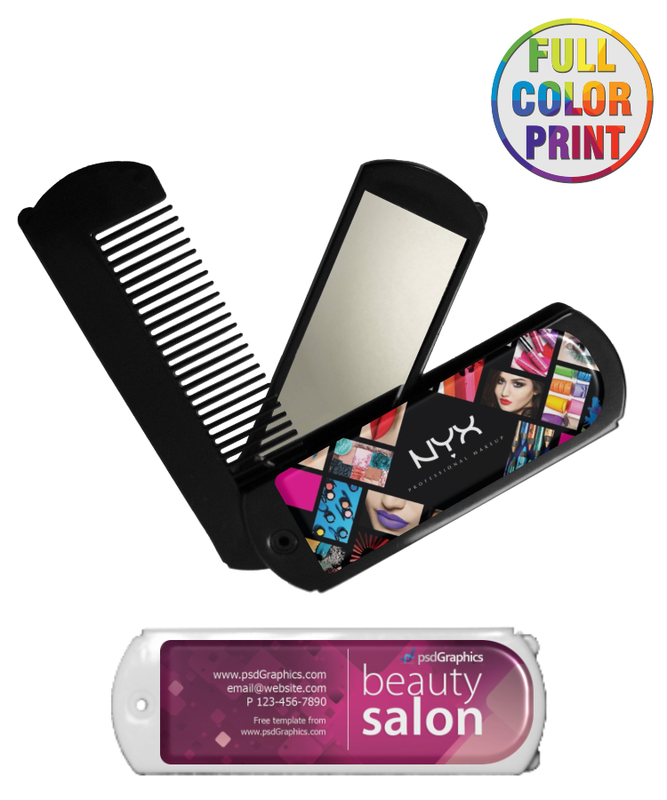
Compact Folding Mirror and Comb Travel Set
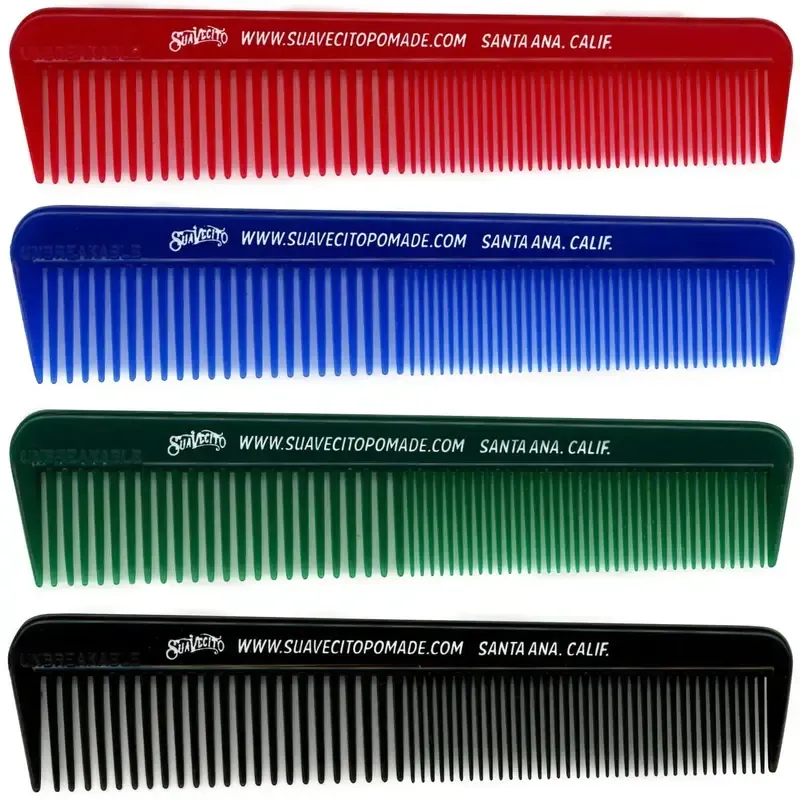
Custom Logo Combs - Unbreakable 5"
This guide will provide easy-to-follow steps to help you maintain your personalized hair burshes, improving their performance and extending their lifespan. With just a bit of regular care, you’ll notice smoother brushing and healthier hair in no time.
Why Cleaning Your Hair Brushes Matters
A clean hairbrush goes beyond aesthetics it's a key factor in maintaining hair and scalp health. Over time, brushes collect oils, styling products, and debris, creating an environment for bacteria and dirt. Here are the benefits of regular cleaning:
- Healthier Scalp: A clean brush minimizes the transfer of grime to your scalp, helping prevent irritation and blocked follicles.
- Reduced Hair Damage: Buildup on brushes can snag and weaken hair strands. Cleaning removes residue, reducing unnecessary breakage.
- Enhanced Styling: A clean brush distributes natural oils more effectively, leaving your hair shinier and smoother.
- Prolonged Tool Life: Regular cleaning keeps your brushes in great condition, saving you money on replacements.
Step-by-Step Instructions
Cleaning your hairbrush might seem like a small task, but doing it right can make a big difference. By following these straightforward steps, you’ll ensure your brush stays fresh, effective, and gentle on your hair. These steps can be done at home; make sure you follow all the necessary precautions to protect yourself and your property. Let’s get started!
Step 1: Clear Out the Hair
What You’ll Need: Scissors, a tail comb, or a small tool like a pen.
Time Required: 2-5 minutes
Start by removing any trapped strands. Use a tail comb or a slim object to lift the hair away from the bristles. If knots are tough to loosen, carefully cut them with scissors in small sections. Tweezers can also help with hard-to-reach spots.Gently twist the bristles as you lift to make the process smoother. Handle your brush gently to avoid bending or damaging the bristles.
Step 2: Wash with Warm Soapy Water
What You’ll Need: A bowl, warm water, and mild soap or shampoo.
Time Required: 5-7 minutes
Fill a bowl with warm water and add a few drops of soap. Swirl the brush in the water to loosen grime, focusing on the bristles. For cushioned brushes, avoid soaking the base; dip just the bristles. Use an old toothbrush to scrub gently and remove buildup. Add a bit of vinegar to the water for natural disinfecting power. Wooden brushes should only be wiped with a damp cloth to prevent damage.
Step 3: Remove Stubborn Residue
What You’ll Need: Baking soda paste (baking soda + water) and a toothbrush.
Time Required: 3-5 minutes
If product buildup remains, mix baking soda with water to create a paste. Apply this to the bristles and scrub gently with a toothbrush. This step works especially well for plastic and vented brushes. Make sure to rinse thoroughly to remove any baking soda residue.
Step 4: Rinse and Dry
What You’ll Need: Clean water and a towel.
Time Required: 2-3 minutes
Rinse the brush under running water, focusing on removing all soap or paste. Hold it bristle-side down so water doesn’t collect at the base. Shake off excess water and gently pat the brush dry with a towel. A microfiber towel can speed up drying.
Step 5: Let It Air Dry
What You’ll Need: A clean towel.
Time Required: 1-2 hours
Place the brush bristle-side down on a towel and allow it to air dry completely. Avoid using a hairdryer, as heat can weaken adhesives or warp plastic. Drying near a fan or in a breezy spot can speed things up.
Additional Care Tips for Your Hair Brushes
Beyond regular cleaning, a few small habits can make a big difference in keeping your brushes in top shape and extending their lifespan. Here are some tips to ensure your brushes stay fresh and effective:
- Stick to a Routine: Clean your brushes weekly to prevent buildup from oils and products. A quick wipe with a damp cloth after each use can also help reduce grime.
- Keep Brushes Separate: Use different brushes for styling, detangling, and applying products. This reduces wear and keeps them working efficiently for their intended purposes.
- Protect During Travel: Pack your brushes in a case or pouch when traveling to avoid bent bristles or dirt transfer. A small zippered bag works well for this.
- Store Smartly: Always store brushes in a clean, dry place, away from humidity. Bristle-side up in a holder or container is ideal to maintain their shape.
- Replace When Necessary: No brush lasts forever. Swap out brushes with bent bristles, loose handles, or excessive wear every 6-12 months for optimal performance.
- Skip the Heat: Avoid exposing your brushes to blow dryers or heaters. Heat can weaken the glue holding bristles or warp plastic parts, shortening the lifespan of your tools.
How Often Should You Clean Your Hair Brushes?
Regular cleaning of your hair brushes keeps them hygienic and helps protect your hair from buildup and grime. For frequent users of styling products like hairspray or mousse, cleaning your brushes weekly is recommended to prevent residue accumulation. If you only use your brush on clean, dry hair daily, cleaning every two weeks is usually enough. For shared brushes or those used on wet hair, it’s best to clean them after each use to minimize bacteria and dirt transfer. Prioritizing a consistent cleaning routine ensures your brushes remain effective and your hair stays healthy.
Signs It’s Time to Replace Your Hair Brush
Even with proper care, brushes don’t last forever. Here’s how to know when it’s time to say goodbye:
- Bent or Missing Bristles: Damaged bristles can tug on your hair and cause breakage.
- Loose Handle or Base: If the handle or bristle pad becomes unstable, it can affect the brush’s effectiveness.
- Fraying Natural Bristles: Worn-out natural bristles lose their ability to distribute oils evenly.
- Excessive Product Build-Up: When residue won’t come off, it’s time for a new brush.
Replacing your brush at least once a year is a good rule of thumb, but heavily used brushes might need replacement sooner.
Choosing the Right Hair Brush
The right hairbrush makes a big difference in your hair’s health and style. Here’s how to pick one:
- Fine Hair: Use a soft-bristle brush to prevent breakage and add shine.
- Thick or Curly Hair: Try a paddle brush or wide-tooth comb to detangle without pulling.
- Frizzy Hair: A boar-bristle brush smooths strands and reduces frizz.
For styling, round brushes add volume, and paddle brushes are great for everyday use. Boar bristles are ideal for spreading natural oils, while synthetic ones handle heat better.
Finally, choose a brush that’s easy to clean detachable parts or simple designs save you time.
Conclusion
Cleaning your hairbrushes and custom combs isn’t just about hygiene—it’s essential for keeping your hair healthy, shiny, and manageable. By following the simple steps in this guide, you’ll ensure your tools remain effective and extend their lifespan. Regular care helps prevent buildup, reduce damage, and improve your overall hair care routine.
Looking for high-quality combs and related products to upgrade your hair care game? At Promotional Product Inc., we offer a wide range of customizable combs and other hair care essentials, perfect for personal use, salons, or as branded giveaways. Visit our website today to explore our collection and find the perfect tools for your needs!
Olivia Smith
Lead Content Strategist
Olivia Smith is a marketing and design expert who specializes in transforming spaces to maximize impact and functionality. With a deep understanding of promotional product trends, Olivia helps brands create stylish, space-efficient environments that attract and engage.
